How to Get a Natural Hairline with a Frontal Wig - Expert Styling and Care Tips

Achieving an Undetectable Hairline with a Frontal Piece: Practical Foundations for Seamless Styling
If your goal is to create a soft, realistic hairline using a frontal wig, this comprehensive guide walks through the exact selection, preparation, application, and aftercare techniques that professionals use. Whether you are new to lace work or an experienced wearer who wants to refine an illusion, these steps focus on aligning texture, color, density, and edge design so that the frontal integrates with your natural scalp and facial contours. The information below is optimized for clarity and search relevance around the phrase a frontal wig, and you will see that strategic repetition of the key phrase appears inside headings, emphasized phrases, and inline SEO-friendly tags to help a page rank for queries about natural hairlines and frontal styling.
Understanding the Anatomy and Options: What Makes a Frontal Look Natural?
Before diving into styling, understand the essential components: lace type, hair density, hair type, and the frontal’s coverage. Lace can be Swiss, HD, or regular; Swiss lace offers a balance of durability and invisibility, whereas HD lace becomes nearly transparent when blended with skin tone. The right choice of lace for creating a natural hairline when wearing a frontal wig depends on skin tone and lifestyle (heat, humidity, exercise). Human hair frontals provide the most realistic movement and texture, enabling parting, baby hairs, and gentle knots that mimic natural growth. Synthetic frontals may save cost but often compromise in versatility. Lace lifespan is affected by adhesive choices and maintenance practices, so choose quality and plan for care.
Selection Tips: Finding a Frontal That Matches Your Natural Growth Pattern
When shopping for a frontal wig, evaluate hairline shape—rounded, widow's peak, or rectangular—so you can pick a lace pattern that mirrors your bone structure. Consider density levels: natural hairlines are usually lighter at the edge and fuller when moving inward. Request or shop for 150% density for a balance between realism and coverage; 130% suits a more delicate, natural finish. Also, specify hair direction and parting options: some frontals come with pre-plucked or pre-plunged hairlines that require minimal work, whereas others need full customization. Always compare lace color against your natural scalp under natural light—what looks good under store lighting may appear stark outdoors. Use swatches, and if possible, ask for close-up images of the lace laid flat for transparency.
Pre-Styling Preparation: Tools and Materials for a Seamless Finish
Gather the right tools before you begin manipulating a frontal wig: a fine-tooth comb, tweezers designed for hairline customization, a lace sealer, a small pair of sharp scissors for lace trimming, a flexible fiber brush, an edge control gel, concealer or lace tint (shade matching your scalp), and a heat protectant. Adhesives include glue, tape, and elastic band methods; choose based on activity level and skin sensitivity. A mannequin head with a clamp is invaluable for practicing plucking and baby-hair creation before working directly on the head. Keep alcohol wipes and gentle shampoo nearby for cleanup. Use a magnifying mirror and good lighting to avoid over-plucking, which is a common mistake when trying to make a frontal wig look natural.
Step-by-Step Installation: How to Place and Secure Your Frontal
1. Prepare your natural hair by braiding or flattening it and cleansing the hairline to remove oils; dry thoroughly.
2. If necessary, tint or shade the underside of the lace with a lace tint or concealer that matches your scalp; this step helps the lace disappear and gives the illusion of depth, especially when wearing a frontal wig with a center or side part.
3. Trim the lace carefully, leaving a few millimeters beyond the hairline to preserve the intended baby-hair base. Do not cut too close to the hairline initially—better to adjust gradually.
4. Position the frontal and secure temporarily with clips or wig grips to evaluate placement against ear-to-ear measurements and natural part alignment. When satisfied, adhere the frontal using the chosen method: glue for long wear, tape for moderate wear, or sewing for the most secure fit. Follow adhesive drying times and press the lace gently without stretching it to avoid unnatural tension on the hair knots.
5. Once glued or taped, lay down the edges with low heat or a wrap to meld the lace to the skin; for sensitive skin use a lace sealer or scarf instead of heat.
Customizing the Hairline: Plucking, Bleaching, and Baby Hairs
Customization is where a lace frontal transforms into a realistic hairline. Use tweezers to remove excess density along the front in a staggered pattern—avoid evenly spaced removal which reads artificial. Target small tufts rather than single strands to mimic natural clusterings. If the knots are visible and you prefer unmatched transparency, consider bleaching knots with a gentle developer solution; test a small area first to ensure the hair color handles the chemical without damage. When creating baby hairs, cut a few shorter hairs around the hairline and style them with edge gel into soft curves. Do not overdo baby hairs; subtlety beats excess. Each modification should be followed by a styling check under natural light so adjustments can be fine-tuned for the most realistic results when wearing a frontal wig.
Parting and Depth: Techniques to Simulate Scalp Realism
For parting, use a tail comb to create a defined line and apply a light layer of concealer or powder down the part for an illusion of scalp. For deeper parting realism, carefully remove hairs beneath the part to reveal lace transparency and allow the scalp color to show through. Alternatively, adding a thin layer of makeup to the lace can provide a shadow that reads like genuine scalp depth. Rotate between center and side parts to reduce repetitive stress on the same lace area and increase the frontal's longevity. Consider creating a baby-nape at the back of the frontal for proper inconspicuous transition to your natural hair. These small adjustments greatly increase believability when people look closely at your hairline while you wear a frontal wig.
Adhesives and Scalp Protection: Balancing Hold with Health
Choose adhesives with skin health in mind. For extended wear, water-resistant glues designed for lace provide strong hold but require proper removal with an adhesive remover to protect the lace and your natural skin. Tape offers a gentler, clean alternative for shorter durations and frequent reapplication. Use a barrier spray or scalp protector prior to glue application to minimize irritation. Regularly rotate adhesive-free periods to allow your scalp to breathe and recover. If you experience consistent irritation, consult with a dermatologist and consider switching to a less aggressive method. Proper adhesive technique prevents lifting that can reveal lace and give away the presence of a frontal wig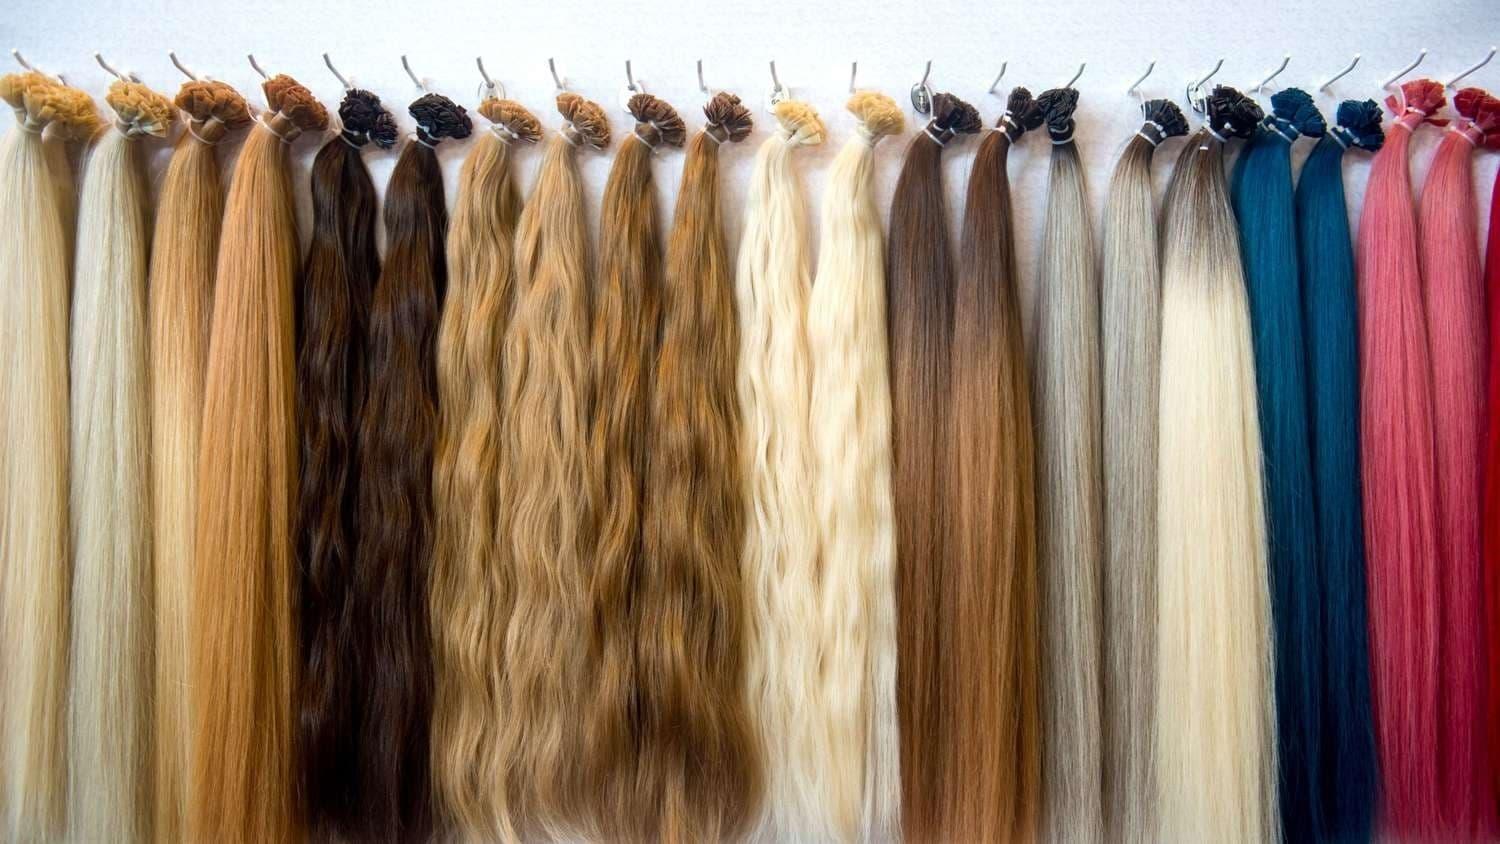 .
.
Styling Tips: Heat, Cut, and Color Considerations
When styling a lace frontal, treat the hair as you would natural hair—use heat protectant before using straighteners or curling irons, and avoid excessive high heat near the lace base to prevent weakening knots and adhesive. If you plan to trim or layer the frontal, work in small increments: avoid large dramatic cuts in one go. For coloring, consult a professional colorist experienced with human hair frontals; pre-bleaching or high-lift colors can alter texture and knot security. Keep in mind that lighter shades will reveal regrowth and require more frequent touch-ups, so plan the maintenance schedule accordingly if you want a consistently natural look with a frontal wig.
Daily & Long-Term Maintenance: Keeping the Illusion Intact
Cleanse the lace gently with sulfate-free shampoo and lukewarm water; aggressive scrubbing around the lace can loosen knots. Condition the hair down the length, avoiding heavy products at the root to minimize build-up on lace. Use a lightweight serum or oil on lengths to preserve sheen without weighing down the frontal. Sleep with a silk or satin scarf or bonnet to reduce friction—this preserves both the lace and the baby hairs. Weekly checks for lace lift, product residue, or split ends will lengthen wear and maintain the natural appearance of a frontal wig. For sewn-in frontals, ensure the tracks remain tight and that no strain pulls on the frontal's hairline.
Common Mistakes and How to Avoid Them
- Over-plucking in a uniform pattern — solution: stagger plucking and check in natural light.
- Using heavy products near the lace — solution: apply oils and creams mid-shaft and ends.
- Cutting lace too close — solution: maintain a slight lace buffer and trim progressively.
- Neglecting scalp care — solution: cleanse and moisturize exposed skin and rotate adhesives.
- Ignoring knot visibility — solution: bleach knots carefully or use a tint to match skin tone.
How to Refresh a Frontal: Repair and Rejuvenation
If the frontal shows wear, consider partial repair instead of full replacement. Small sections with shedding can be re-knotted by experienced technicians; lace tears can sometimes be patched with delicate mesh or interior reinforcement patches. Deep-cleaning with clarifying but gentle products removes adhesive residue that dulls hair and attracts lint. For a frontal that has lost its natural pattern, re-curling or re-texturizing with steam treatments can restore body. Regular professional check-ups every 6–12 months are recommended for high-quality human hair frontals to extend lifespan while preserving a flawless hairline when wearing a frontal wig.
Styling and accessorizing also help create natural illusions: strategically placed headbands, scarves, or hair jewelry can hide transitions while augmenting realism. Use a light color-correcting powder on the part line to mimic scalp depth and apply minimal baby hair gel for a soft finish. When photographing your frontal, soft, diffused light reduces harsh shadows that might reveal lace edges; choose camera angles that highlight the frontal's movement and density, not the lace edge.
Color Matching Strategies for a Seamless Scalp Blend
Accurate color matching is essential. If the frontal base is lighter or darker than your scalp, use lace tint, foundation, or specialized lace paint to match. Neutral-toned powders work for matte finishes; avoid overly glossy products that reflect light unnaturally. For those who switch between wigs frequently, consider bleaching or dyeing the underside of the lace to a universal neutral shade to make application faster and more consistent. Also consider the direction of light—under warm lighting, lace may appear differently than outdoors, so test in various environments to ensure your frontal looks natural.
Professional vs. DIY: When to Seek Expert Help
Many wearers can achieve excellent results through careful DIY techniques, but complex customizations—extensive bleaching, intricate re-knotting, or repairing damaged lace—are best left to trained technicians. If you are aiming for a celebrity-grade, undetectable hairline for events or prolonged public appearances, invest in a professional installation and periodic maintenance. Professionals can pre-pluck, bleach knots precisely, and provide a durable adhesive system matched to skin sensitivity, increasing the lifespan and natural look of a frontal wig.
Key Takeaways: The Ingredients of a Convincing Natural Hairline
- Choose the right lace and hair type for your lifestyle.
- Match density and parting to your natural growth patterns.
- Customize gently: staggered plucking, subtle baby hairs, and selective knot bleaching.
- Protect the scalp and lace with appropriate adhesives and barrier products.
- Maintain with light products, careful washing, and protective sleep routines.
By combining selection wisdom, precise installation, and consistent maintenance, anyone can craft an invisible, believable edge with a frontal wig. The process rewards patience: subtle adjustments and incremental customization yield the most convincing results. Whether your priority is everyday naturalism or occasional high-impact styling, the methods above will increase confidence in the way the frontal frames your face and behaves in movement and light.
FAQ
Q: Can I create a natural hairline without plucking?
A: Yes, some frontals arrive pre-plucked and require only minimal shaping. However, light customization often improves realism—aim for staggered, subtle removal rather than heavy plucking.
Q: How long does adhesive hold for a lace frontal?
A: Hold time varies by adhesive type: professional glues can keep a frontal secure for 2–4 weeks, while tape may last 5–10 days. Weather, activity, and skin oils affect longevity.
Q: Is bleaching knots necessary?
A: Not always. Bleaching knots reduces visible black dots at the base of the lace and enhances transparency, but it can weaken hair if overdone. Test and work conservatively.
Q: How often should I wash a frontal?

A: Wash every 1–2 weeks depending on product build-up and daily activities. Use gentle, sulfate-free shampoos and avoid excessive scrubbing at the lace base.
Related products
Blog
- Does Diane Miller on GH Wear a Wig Revealed - Inside Her Hairstyle Choices and Onscreen Look
- From fiber choice to final styling - how wigs are made in a step by step guide
- How to Put a Lace Front Wig step-by-step tutorial for a natural look and secure fit
- Top Picks and Styling Tips for a wig for miss devore to Achieve Iconic Glam
- does beth dutton wear a wig - Behind the Scenes Hair Truths from Yellowstone
- how to put a wig cap on long hair in 7 easy steps plus pro tips for a secure comfortable fit
- how long can you wear a lace wig - practical tips to extend wear time protect your scalp and keep styles fresh
- have you worn wigs? Essential guide to choosing styles tips care and confidence for every occasion