how to make a wig from your own hair step by step DIY guide for natural results
Guide: how to make a wig from your own hair for a natural finish
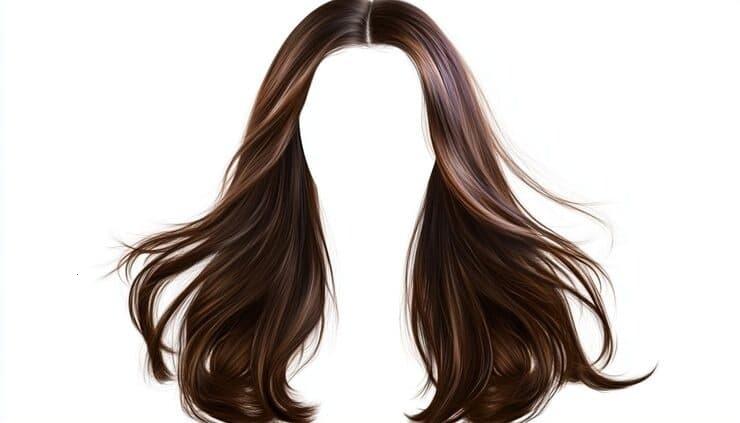
Creating a wig using your own hair is a deeply rewarding DIY project that delivers a personalized, natural-looking result. This comprehensive walkthrough explains practical techniques, helpful tips, and common pitfalls to avoid when you decide to learn how to make a wig from your own hair. Whether you're making a full wig, partial topper, or a lace frontal, the core principles remain the same: prepare clean, well-collected hair, construct a stable cap, attach the hair in neat wefts or knots, and finish with careful styling for seamless blending.
Why make a wig from your own hair?
Using your own strands gives you perfect color match, natural texture consistency, and emotional satisfaction. A wig made with your own hair can preserve personal style, extend the life of special treatment (such as colored or heat-styled hair), and eliminate the guesswork often associated with buying pre-made pieces. Below you'll find an in-depth, step-by-step approach designed for both beginners and intermediate DIY wig makers who want reproducible, natural results.
Overview: main stages
- Plan and collect hair
- Wash, dry, and align hair
- Measure the head and make a cap
- Create wefts or ventilate lace
- Sew or glue hair to the cap
- Customize the hairline and cut for realism
- Style and maintain the finished wig
Materials and tools you will need
Gather materials before starting to avoid interruptions. A well-equipped work area reduces mistakes and speeds production.
- Collected hair (details on collection below)
- Mannequin head or wig block and wig stand
- Measuring tape, fabric pencil, tail comb
- Wig cap materials: stretch lace, cotton cap, or mesh cap
- Wefting thread and sewing needle or sewing machine with a zigzag stitch
- Lace mesh (if making a lace wig) and ventilating needle
- Breathable adhesive or wig glue (for lace front application)
- Scissors, thinning shears, clips, and hair dryer
- Styling products: heat protectant, mild shampoo, and conditioner
- Optional: thread conditioner, ghost knot tool, knot-tying pliers
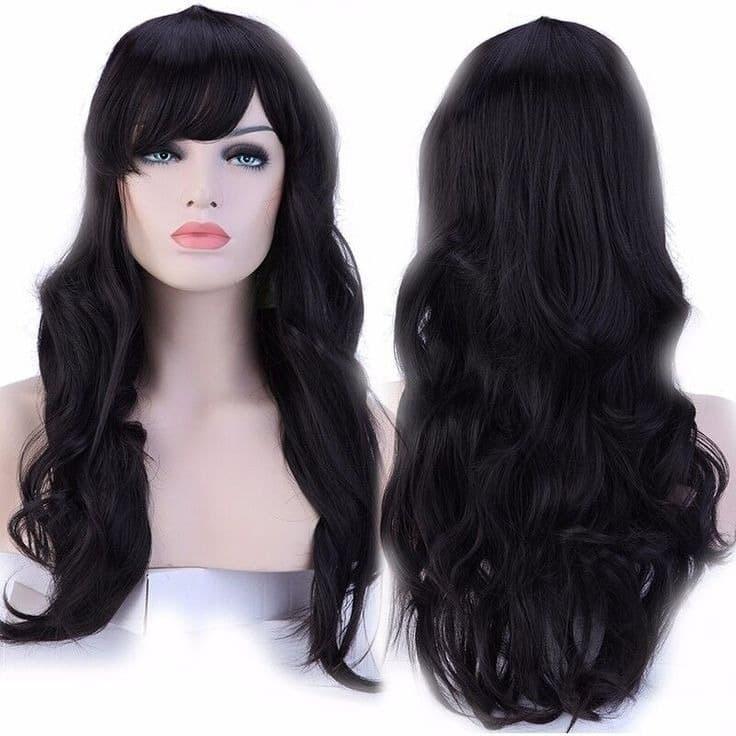
Understanding types of homemade wigs
Different construction methods will change the time, cost, and finish: machine-sewn weft wigs (faster, thicker cap), hand-sewn weft wigs (customizable density), lace front wigs (most natural hairline), full lace wigs (most versatile for parting and updos), and hybrid approaches. Choose a method aligned with your skill level and final look.
Step-by-step: how to make a wig from your own hair (practical instructions)
Step 1 — Collecting and preparing hair
Collect hair when it is freshly trimmed or cut in ponytails/braids. For best results: wrap hair in small clear elastic bands every 1–2 inches along the length to keep roots aligned and prevent tangling. Use multiple bundles for fullness; typically 6–12 bundles depending on head size and desired density. Aim for longer length if you plan to cut later. Avoid mixing hairs with widely different textures unless you are prepared to blend them with heat tools or chemical relaxers.
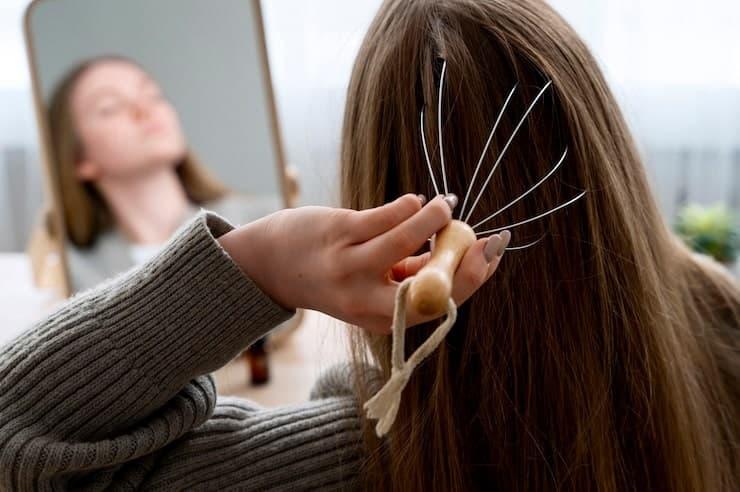
Washing and conditioning
Before constructing wefts, wash the collected hair gently in lukewarm water with mild shampoo, rinse thoroughly, and apply a hydrating conditioner. Rinse with cool water to seal the cuticle. Pat dry with a towel and air-dry partially; do not tumble dry aggressively. Align the hair so the roots face the same direction and hang straight to remove tangles.
Step 2 — Preparing wefts from your hair
Turning bundles of your hair into wefts is often the most efficient route. Two common options:
- DIY hand-sewn wefts: Use a strong needle and upholstery thread to sew along the top of the bundle, creating a secure weft. Fold the top edge of the hair and run multiple rows of stitching to avoid shedding. Leave a small "loop" area for attaching to the cap.
- Glue wefts on tape or fabric: For temporary wefts, use weft tape or fabric strips and attach hair using a thin line of high-quality fabric glue. This is faster but less permanent than sewn wefts.
When sewing, maintain consistent stitch spacing and tension. Consider leaving a small allowance to fold over the sewn edge for cleaner attachment to the cap.
Step 3 — Measuring and making the cap
Measure the circumference of the head from forehead to nape and ear-to-ear across the hairline. Transfer measurements to your cap material (stretch lace, breathable mesh, or a pre-made cap). Cut the cap shape slightly smaller than the head measurement for a snug fit, remembering you can adjust later. A well-fitting cap is the structural base that ensures the wig sits correctly and looks natural.
Creating channels
If building a machine-sewn style, mark horizontal channels on the cap with a washable fabric pen. Sew reinforced rows or add elastic bands for shape stability. For lace wigs, you will construct a lace front that mimics a natural hairline and attach hair via ventilating or knotting into the lace mesh.
Step 4 — Attaching wefts or ventilating hair
For weft wigs: Start sewing the longest wefts at the nape and work upward in concentric circles or horizontal rows. Use a curved needle or sewing machine depending on your skill. Keep rows tight but not so tight they pull the cap out of shape. Trim excess weft fabric and fold edges under for a clean finish.
For lace wigs: Spot-ventilate hair using a ventilating needle or latch hook. This is time-consuming but yields the most realistic hairline. Knot density should be lighter near the hairline and denser toward the crown. Use single knots for a fine look and double knots where you need extra security.
Tips for consistency
- Match weft spacing with natural hair growth direction for a believable flow.
- Use thinner wefts near the hairline to reduce bulk.
- Take breaks to compare both sides of the cap for symmetry.
- Use a mannequin head to check fall and parting as you go.
Repeat until the whole cap is covered, leaving the lace front or a small section for customization as needed.
Step 5 — Customizing the hairline and part
Natural hairlines are rarely perfectly straight. To mimic that, thin out the hairline using thinning shears or by hand-ventilating fewer hairs into the first 1–2 cm of lace or cap. For lace wigs, pluck a few strands along the front to create a soft, staggered edge. Use a small amount of baby powder or concealer to match the lace to your scalp tone for invisible parting. If needed, trim the frontal to create baby hairs that imitate natural regrowth.
Step 6 — Fitting and finishing
Place the wig on your head or the model's head and assess fit. Trim any bulky weft edges and style the perimeter with a soft brush or flat iron if heat-resistant. For glue-on lace fronts, apply adhesive sparingly, press the lace into place, and remove excess glue carefully. For sewn wigs, add elastic bands inside the cap between the ear tabs for a secure fit and to reduce slippage.
Styling and achieving natural results
To ensure the wig looks indistinguishable from natural hair, follow these styling pointers:
- Use light, layered cuts to mimic real hair movement.
- Match the part: place the part slightly off-center and soften with a tail comb.
- Use heat tools at the proper temperature for your hair type; protect with a heat protectant spray.
- Add baby hairs and a slight skin-like sheen at the part using a matte powder or foundation sparingly.
- Blend the wig's perimeter with your natural hair or makeup for an invisible joint.
Maintenance for wigs made from natural hair
Wigs crafted from your own hair will behave like normal hair and require regular care. Wash gently every 10–15 wears with sulfate-free shampoo, deep condition monthly, and store on a mannequin or silk pillow to preserve shape and cuticle alignment. When not in use, keep the wig in a breathable bag in a cool, dry place. Re-tighten or re-sew wefts that loosen over time and refresh the hairline if shedding becomes noticeable.
Common mistakes and how to avoid them
- Not aligning hair roots consistently — always keep roots facing same direction to avoid tangling and inconsistent shine.
- Over-dense hairline — thin the front to avoid a heavy, fake look.
- Improper cap fit — measure carefully and adjust with elastic for a secure fit.
- Using too much glue — apply minimal adhesive for a natural lay and comfortable wear.
- Skipping sealing steps — seal hand-sewn wefts and knot points with thread conditioner or gentle glue to reduce shedding.
Advanced customization and professional touches
If you want to elevate your DIY wig into salon-grade territory, consider the following advanced steps: bleach and tint knotted lace carefully if making a lace wig (test a small section first), add micro-rows to mimic scalp partings, incorporate multiple shades of your hair to create depth, and use a ventilating tool for precision knot placements. A professional stylist can help blend the wig seamlessly with your facial features through strategic layering and color adjustment.
Color matching and blending
Even when using your own hair, processed strands can behave differently over time. Use demi-permanent glosses or color-depositing conditioners to unify tone and restore shine. For subtle highlights, hand-paint additional strands before constructing wefts to ensure the color pattern remains consistent across the cap.
Cost and time estimates
Making a home wig from your own hair can range from low-cost to moderate, depending on materials. Approximate breakdown:
- Basic cap supplies and thread: low cost
- Sewing machine or professional tools: one-time investment
- Ventilating needle and lace: moderate cost
- Time: a simple weft wig may take 6–12 hours; a full lace ventilated wig can take 40+ hours
Factor in practice time — your first piece will teach you techniques that significantly reduce build time for future wigs.
Checklist before your first wear
- Check fit and adjust internal elastic
- Trim and blend hairline baby hairs
- Test adhesive on skin if using lace glue
- Style and set the wig as you would natural hair
- Take photos to compare and plan future improvements
Learning how to make a wig from your own hair is a craft that rewards patience, practice, and attention to detail. From collecting tidy bundles to stitching consistent wefts and creating a believable hairline, every small decision affects the realism of the final piece. Start small, focus on fit and hairline realism, and iterate — your skills and results will grow fast.
Summary and next steps
To recap: prepare clean aligned hair, choose a cap type (weft, lace, or hybrid), attach hair with consistent techniques, customize the hairline, and maintain the wig like natural hair. Keep experimenting with density and part placement until you find the balance that looks effortless. Document your process with photos and notes to refine your method on the next build.
Extra tips for natural appearance
- Use a light scalp-colored powder along parts for depth
- Thin ends to avoid a blunt "wiggy" silhouette
- Match lace shade to skin tone or tint lace subtly
- Allow for slight asymmetry—real hair isn't perfectly even
Final encouragement
Take pride in each step. A handmade wig using your own hair is not only functional but carries personal value and authenticity that store-bought pieces can't match. Stay patient, practice techniques such as weft sewing and ventilating, and gradually incorporate advanced methods to refine your craft.
FAQ
Q: How much hair do I need to make a full wig?
A: It depends on desired density and length. For medium density wig in shoulder length you may need 6–8 good-sized bundles; for long or very full styles plan 8–12 bundles. When using your own hair, collect multiple ponytails or braids during a planned cut.
Q: Can I use chemically treated hair from my own head?
A: Yes, but be mindful that processed hair may be more fragile. Treat it gently, use hydrating conditioners, and adjust the cap design to support the hair without stressing weakened strands.
Q: Is it better to sew or glue wefts to the cap?
A: Sewing provides a more secure, long-lasting attachment and is preferred for daily wear. Glue can be faster for temporary styles but may require more upkeep and can cause build-up on the cap.
Related products
Blog
- Can You Dye Fiber Wig A Practical How to Guide with Expert Tips for Coloring Synthetic Hair Safely
- why does sia wear a wig and what it reveals about her artistry and privacy
- will wearing a wig cause hair loss Exploring the Facts and 7 Practical Ways to Protect Your Scalp
- Top Drag Queen Wigs for 2025 Expert Picks, Styling Tricks, Care Tips and Where to Buy
- did george washington have a wig revealing the untold truth about his hair and 18th century styles
- How to Spot a Bad Wig Before You Buy and Simple Fixes to Save It
- how to make marge simpson wig step-by-step DIY guide for an authentic blue beehive cosplay
- how to thin a wig - expert step by step thinning tips for natural volume