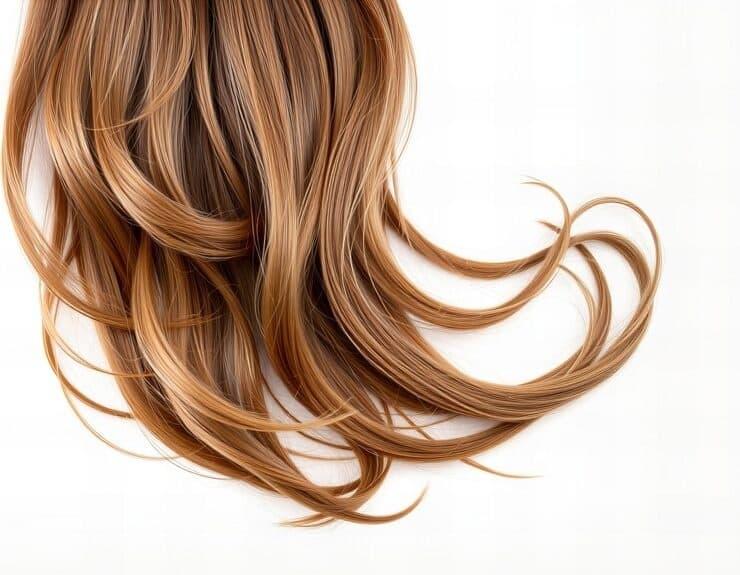
How to Put Lace Front Wig Easily Step by Step with Pro Tips for a Natural Secure Fit

how to put lace front wig — A practical guide to a natural, secure finish
If you've searched for how to put lace front wig and landed here, you're in the right place: this comprehensive, step-by-step walkthrough will help you achieve a realistic hairline, secure adhesion, and a comfortable fit without sacrificing style. Whether you're new to wigs or refining your technique, this article covers preparation, application methods (glue, tape, gel, and glueless options), trimming and blending tips, maintenance advice, and professional tricks to make your lace front look undetectable. Read on to learn practical, SEO-friendly guidance that balances safety, longevity, and aesthetics.
Why mastering the method matters
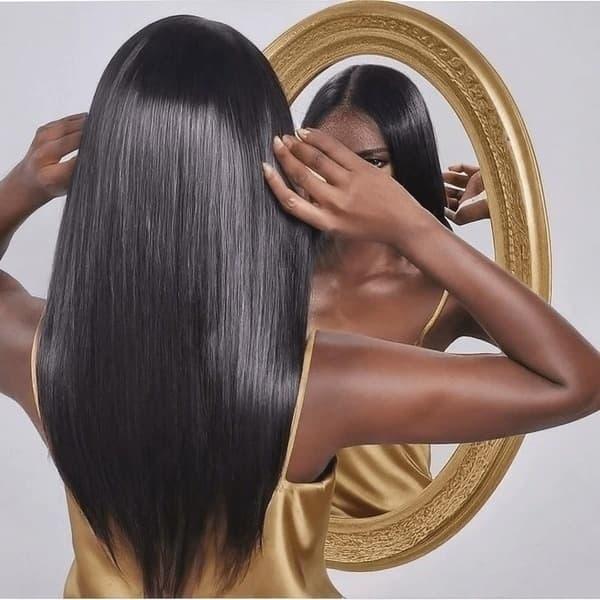
Mastering how to put lace front wig properly prevents lifting, irritation, and an unnatural appearance. A correctly applied lace front provides a seamless hairline, greater styling freedom, and improved confidence. The goal is to make the wig look like hair growing from your scalp: flat, well-blended, and flexible. This piece emphasizes step-by-step preparation, secure attachment, and finishing touches that deliver a salon-quality finish at home.
Quick overview before you begin
Preparation and planning are half the battle. Before starting, gather all materials, decide on an adhesive method, practice breath control during glue application if you're using adhesive, and set aside at least 45–90 minutes for a careful application. If you want a quicker method, read the glueless instructions in the middle of this guide. No matter the approach, follow the safety steps to protect your skin and the wig's lace.
What you'll need
- Tools: Rat-tail comb, wig cap, wig clips or bobby pins, hairdryer (low heat), scissors with sharp, small blades, tweezers for customizing the hairline, and makeup sponge or brush.
- Adhesive options: lace wig tape, wig adhesive glue, gel adhesive, or no-adhesive wig grips. If you use glue, always do a patch test 24 hours before full application.
- Cosmetics: foundation or concealer that matches your scalp tone, setting powder, micro-fiber brush, and concealer stick or eyeshadow to blend the lace.
- Hair care: leave-in conditioner, moisturizing oil for natural hair if required, dry shampoo for maintenance, and a silk or satin scarf to secure the lace during setting.
Step-by-step process: how to put lace front wig with a natural secure fit
- Cleanse & protect your skin: Start with a clean, makeup-free hairline. Use an alcohol-free cleanser around your forehead and hairline. If you have oily skin, consider a gentle toner. Protect areas you don't want adhesive on with a thin layer of barrier or a skin protectant recommended for wig adhesives.
- Braid or flatten natural hair: If you have long hair, braid it close to the scalp (cornrows) or pin it flat into a low bun. For short hair, flatten and use gel or a wig cap to keep everything smooth. The flatter the surface, the more natural and secure the wig will sit.
- Apply a wig cap: Put on a snug wig cap that matches your skin tone or the wig cap color. Smooth it so there are no bumps. Use additional pins to secure it if necessary. The cap ensures the lace doesn't stick to your natural hair and creates a uniform base.
- Trim the lace: Carefully place the wig on your head and align it with your natural hairline. Use small sharp scissors to trim excess lace, cutting about 1–2 mm away from the hairline. Never rush this step; cutting too much lace or cutting into the hair knots can ruin the front. For beginners, leave a tiny amount of lace untrimmed and trim again if needed.
- Customize the hairline: Use tweezers to pluck individual hairs from the hairline for a more realistic density if the pre-plucked line is too dense. Work slowly and check frequently; less is often more. If you need baby hairs, isolate a few hairs around the perimeter and cut them to your desired length.
- Fit and position: Place the wig on your head and secure the back with the adjustable straps, ensuring the wig sits at the correct position for your forehead and temples. The ear tabs should align with your natural ears. When you find the correct placement, mark the lace edge lightly with a cosmetic pencil if you need a guide for adhesive application.
- Adhesive application — method A: lace wig glue: Apply a thin layer of adhesive glue along your hairline where the lace will sit. Wait 30–60 seconds for it to become tacky (follow the adhesive manufacturer's guidelines). Carefully press the lace into place from the center out towards the temples using a tail comb to press the lace down gently. Hold in place with a hand or cotton until it bonds. Use a low-heat hairdryer to speed up curing if recommended by the glue instructions. Avoid pulling the lace forcefully while the glue sets.
- Adhesive application — method B: lace wig tape: Cut tape strips to size and apply them to clean skin along the hairline. Remove the backing and gently press the lace into position. Tape is great for users who prefer less chemical odor and quicker application times, but check edges regularly and replace tape every 1–2 weeks depending on activity and oil buildup.
- Adhesive application — method C: gel or water-based adhesives: Gel adhesives can be less harsh and suitable for sensitive skin. Apply in thin layers, allowing each to dry until tacky. Replicate the same placement technique: from center to sides, press gently and secure. Gel adhesives often provide a flexible bond and hold well with lighter application.
- Adhesive application — method D: glueless / combs / wig grips: For a non-adhesive approach, sew in elastic bands inside the wig cap, use adjustable straps, or rely on built-in combs and clips anchored to your natural hair or wig cap. Wig grips are comfortable and ideal for daily wearers who switch wigs frequently. Glueless methods are recommended if you have sensitive skin or want to avoid adhesive maintenance.
- Blend the lace: After the lace is secure, apply a thin layer of foundation or concealer that matches your skin tone along the lace to camouflage the edge. Use powder to set the foundation. Avoid heavy layers of makeup on the lace, as excessive product can cause buildup and reduce realism. Create subtle baby hairs using small strands cut from the wig or by pulling a few hairs out from the frontal and styling them forward with edge control or gel.
- Style and finish: Style using low heat tools if the wig is heat-friendly. Part the hair where desired and use a small amount of mousse or light hairspray to set flyaways. Use a silk scarf to wrap the edges for 10–15 minutes if you used glue; this helps secure the lace and flatten baby hairs. Trim and shape as needed to frame your face.
- Final check: Move your head, smile, and check for gaps, lifting, or discomfort. Softly press the edges if you notice any raised spots. If reapplication is needed, gently remove the wig, clean the lace and your skin, and reapply following the same steps.
Professional tips for a natural hairline and longer wear
- For the most natural result, use light, gradual plucking to mimic a natural hair density. Over-plucking creates holes and an unnatural look.
- Match the wig cap color to your scalp, or apply translucent foundation inside the cap for a realistic base when parting hair.
- Consider bleaching the knots if you want a more realistic scalp appearance in the part; do this carefully and test a small area first because bleaching weakens the knots.
- Alternate adhesive methods depending on activity: tape can be better for sports or humidity, while glue often lasts longer with heavy styling and heat use.
- Trim the lace gradually. It's easier to remove a little more lace than to recover from over-trimming.
- When practicing how to put lace front wig with adhesives, invest in a practice wig to learn without risking your favorite unit.
Maintenance and care
Regular care extends the life of your lace front. Wash gently using wig-formulated shampoo and conditioner; avoid washing at high frequencies if you use adhesives frequently, as repeated washing and adhesive removal can stress the knots. When removing adhesive build-up from the lace, use an adhesive remover or oil-based product to dissolve glue gently, then shampoo thoroughly. Store wigs on a mannequin head or wig stand to preserve shape, and sleep with a silk or satin bonnet to reduce friction.
Troubleshooting common issues
Lifting edges: Clean skin and lace thoroughly, reapply adhesive where needed, and ensure application is thin and even. If the problem persists, consider switching to an adhesive formulated for oily skin or using a stronger tape hybrid.
Visible knots: Lightly pluck and blend, or carefully bleach knots on a practice area first. Alternatively, apply a small amount of foundation to the lace to match your scalp tone, reducing the contrast between knots and scalp.
Itching or irritation: Remove the unit, clean residue with an adhesive remover, and give your skin a break. If irritation continues, use a hypoallergenic adhesive and consult a dermatologist if necessary.
Advanced styling and customization
For experienced wearers looking to elevate their look: sew in an elastic band to improve fit, create layers and bangs to frame facial features, and use thinning shears to reduce bulk at the crown. Heat-styling works well on high-quality human hair lace fronts; always use heat protectant and keep temperatures moderate. For colored looks, consult a professional colorist, as dyes and bleach can be unpredictable on lace front wigs.
How to put lace front wig for different occasions
Daily wear: Opt for glueless grips or tape for quick change and comfort. Professional settings: Use high-bond adhesive for a sleek, long-lasting finish and minimal movement. Events or performances: Reinforce edges with double-sided tape and consider a backup bobby-pin system for security.
Safety and health considerations
Always perform patch tests for adhesives and removers. Keep adhesives away from eyes and open cuts. Remove the wig gently, use manufacturer-recommended removers, and avoid excessive pulling on your natural hair. Rotate wig use to reduce scalp stress and buildup.
Checklist: Quick recap for a flawless application
- Clean scalp and do a patch test for adhesive.
- Flatten or braid natural hair and apply a matching wig cap.
- Pre-fit the wig and trim lace conservatively.
- Customize the hairline with careful plucking and create baby hairs if desired.
- Choose an adhesive method suited to your skin, lifestyle, and wig type.
- Blend lace with makeup sparingly and set edges with a silk scarf.
- Style using low heat tools and maintain regularly for longevity.
As you practice, your speed and confidence with how to put lace front wig will increase. Keep notes on what adhesive, trim level, and styling combinations worked best for your face shape, skin type, and hairline preferences. Small adjustments produce big differences: a few millimeters in hairline placement, micro-plucking patterns, and adhesive thickness all contribute to a more believable result.
Common mistakes to avoid
- Cutting lace too close to the hairline at first attempt — always trim a little and test the fit.
- Applying too much adhesive — thick glue layers may take longer to dry and can become messy.
- Neglecting skin prep — oil and makeup hinder adhesive strength.
- Skipping maintenance — build-up reduces the lace's breathability and realism.

With patience and practice, you'll master different techniques for various looks and occasions. The goal is to combine secure attachment, a natural hairline, and comfortable fit for long-lasting wear. If you wear lace fronts often, build a kit with multiple adhesives, removers, and spare lace to troubleshoot on the go.
how to put lace front wig — final pro pointers
Use natural lighting when customizing and applying the wig to better judge color match and lace visibility. Keep a small mirror at eye level to view the hairline from multiple angles. Carry a travel-size adhesive or tape for quick touch-ups during extended wear. If you're unsure about bleaching knots or doing permanent alterations, consult a professional stylist for a one-time service that sets you up for easier home management.
Remember: the most realistic results come from subtlety. Light plucking, minimal makeup on the lace, and a well-matched cap color make a big difference. Whether you're experimenting with your first lace front or refining pro techniques, patience, hygiene, and a methodical approach will help you achieve a secure, natural-looking style every time.
Extra tips for different hair textures and scalp tones
Choose a wig with a density and curl pattern that complements your natural hair if you plan to mix textures. For darker scalp tones, consider a wig cap or foundation that precisely matches your skin color to make the part look like a real scalp. For very light skin tones, a translucent lace often yields the most natural result, whereas darker tones benefit from lace and cap color that reduce the contrast between lace and skin.
If you continue to experiment and refine your approach to how to put lace front wig, you'll find a routine that balances convenience, longevity, and a natural finish. Learning the nuances—how adhesives behave with your skin, the best trimming angle for your forehead shape, and the ideal plucking pattern for your hairline—makes the difference between a passable and a flawless look.
Now that you have a detailed roadmap, gather your supplies, set aside time without rush, and apply each step carefully. Over time your technique will get faster, neater, and more personalized. Enjoy the creative freedom that a well-applied lace front wig offers: versatile looks, instant volume, and effortless confidence.
Optional FAQ
A: With regular gentle maintenance, careful adhesive removal, and proper storage, a quality human-hair lace front can last anywhere from 6 months to over 2 years depending on frequency of wear and care. Synthetic units typically have a shorter lifespan but can still last many months with delicate handling.
Q: Can I swim or exercise with a lace front wig?
A: You can, but plan precautions. Use strong tape or adhesive for water activities, and rinse and care for the wig after exposure to chlorine or salt water. For exercise, secure the wig with additional combs or elastic bands and choose breathable cap styles to reduce sweat buildup.
Q: Is bleaching knots necessary?
A: Not always. Bleaching knots can create the illusion of a scalp at the part, but it weakens hair bonds and may reduce longevity. Try using foundation or scalp-friendly concealers first; reserve bleaching for units you can replace or a practice wig.
Related products
Blog
- Explained - do wnba players wear wigs and what players say about hair, performance, and style
- raquel welch wig Buying Guide and Styling Tips to Achieve Natural Volume and Long-Lasting Wear
- Is Ariana Wearing a Wig in Wicked Answers from Stylists and Set Photos Fans Can’t Stop Discussing
- Stylist approved tips on how to make a cheap wig look nice and natural
- How to get rid of wig shine with 7 proven tricks for a natural matte finish
- how to say wig in spanish - pronunciation tips, translations and real life examples
- how to thin out a wig the easy way — 7 pro tips for natural-looking results
- when did men stop wearing wigs and how the fall of the peruke reshaped men's fashion