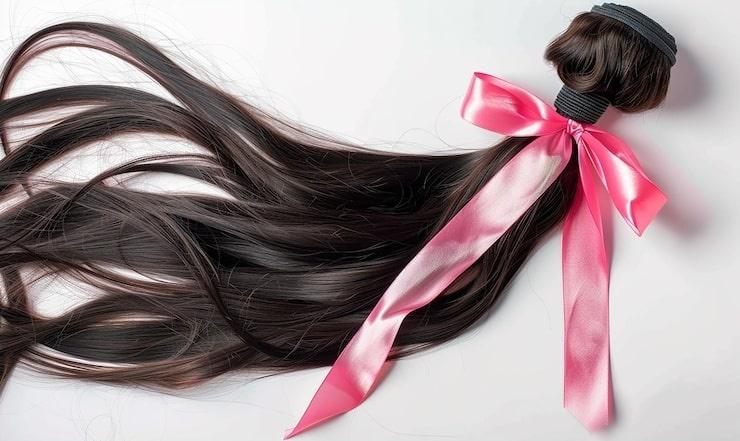
what do i need for a lace wig install - step by step checklist of tools supplies adhesives and pro tips for a flawless DIY install
Complete Checklist for a Professional-Looking Lace Wig Install
If you've been wondering what do i need for a lace wig install and want a clear, step-by-step guide to prepare, this thorough walkthrough covers everything from tools and supplies to adhesives, prep techniques, and insider tips so you can achieve a flawless DIY installation at home. The goal here is to make the process approachable while emphasizing safety, longevity, and a natural finish.
Overview: Why preparation matters
Success with a lace wig largely depends on the groundwork. Proper cleaning, measuring, and assembling the right supplies reduces mistakes, prevents damage to your natural hair and scalp, and helps the lace look seamless. Below you'll find categorized sections so you can quickly compile and check off everything you need before you start.
Essential tools and equipment
- Wig stand or mannequin head – stabilizes the lace wig for styling, bleaching knots, and plucking.
- Adjustable wig clamp or heavy-duty stand – keeps the head steady while you work on it.
- Rat-tail comb – for precise parting and placement guidance.
- T-pins and clips – secure the wig to the block while you cut lace or sew in an elastic band.
- Fine-point tweezers – for professionally plucking hairlines and parting knots.
- Sharp wig scissors or hairdressing shears – to trim lace and customize lengths.
- Disposable applicator brushes or toothbrush – ideal for applying adhesives, laying baby hairs, or feathering edges.
- Blow dryer with low-heat settings – used to speed adhesive drying and set styles, also helpful for melting some adhesives into the lace.
- Edge brush or spoolie – to lay down baby hairs and edges.
- Needle and thread (curved or sewing needle) – if you plan to sew in the wig or add an elastic band or combs.
- Measuring tape – to measure your perimeter and ensure correct cap size and placement.
Supplies: base prep and protection
To protect your natural hair and create a comfortable, flat base:
- Stocking cap or wig cap – choose a color that matches your scalp tone; thin caps minimize bulk under the lace.
- Braiding thread or gel and small rubber bands – to cornrow or flatten your own hair.
- Scalp protector or barrier spray – reduces irritation from adhesives and helps removal later.
- Alcohol wipes or 70% isopropyl alcohol – cleans the skin around the hairline for better adhesive bond.
- Petroleum-free skin products – avoid oily creams near the hairline before gluing.
Adhesives and application aids
Choosing the right adhesive depends on how long you want the install to last and your skin sensitivity. Typical options include:
- Liquid lace adhesive (such as medical-grade or fashion adhesives) – provides secure, lasting hold; requires careful application and remover.
- Adhesive gel or glue – easy to apply for beginners, dries clear, and holds well for days to weeks.
- Lace tape – double-sided tape for a clean, less-permanent option; ideal for short-term wear or sensitive skin.
- Wig glue remover/solvent – a MUST-have for safe removal of adhesive without damaging the lace or your skin.
- Got2b/glue spray (popular holding sprays) – often used to seal lace or for touch-ups, but check compatibility with your skin.
Pre-install checklist: before you begin
Follow this sequence to ensure the installation goes smoothly:
- Wash and condition the wig to remove factory residues; deep condition if necessary.
- Bleach knots if you prefer a lighter, more transparent scalp illusion, then tone to remove brassiness.
- Pluck the hairline and part to achieve a natural, graduated density – take your time and pluck conservatively.
- Secure the wig on the stand and trim excess lace, leaving a small edge (about 1/8" to 1/4") to prevent over-cutting.
- Match the lace color to your skin by tinting the lace with foundation, concealer, or lace tint sprays as needed.
- Practice the placement on your head to find your natural part and align ear tabs; mark the hairline with a washable marker or light foundation to guide adhesive placement.
Step-by-step installation process
Step 1: Prepare your natural hair and scalp

Start with clean, oil-free skin. Cornrow your hair flat to the head or use a low bun. Apply a wig cap that matches your skin tone and ensure it's smooth and secure. Use a scalp protector if you have sensitive skin or plan to use strong adhesives.
Step 2: Clean and prime the hairline
Use alcohol wipes on the skin along the perimeter to remove oils and residues. If you prefer extra hold, apply a thin layer of primer designed for lace wigs; allow it to dry until tacky.
Step 3: Test-fit and adjust the wig
Place the wig on and secure with clips. Check the placement by aligning the frontal edge to your marked hairline, making sure ears and part are where you want them. If needed, sew an elastic band inside the cap for extra security.
Step 4: Apply adhesive
With lace lifted slightly, apply the adhesive product of choice in a thin, even strip along the hairline. For liquid glues, apply two thin layers allowing each to become tacky before placing the lace. For tape, cut strips to length, remove backing, and press into position. Always follow manufacturer drying time and instructions.
Step 5: Secure the lace
Carefully lay the lace down from the center part outward, using a comb or the tip of a tail comb to press the lace into the adhesive. Work slowly to avoid wrinkles or bubbles. Use a blow dryer on low heat or cool air to set the adhesive if recommended.
Step 6: Blend the hairline
Create baby hairs or blend existing ones with a small pair of scissors and edge control. Use concealer or foundation along the part for a realistic scalp effect. For a final seamless look, lightly powder the lace where it meets your skin with translucent powder that matches your complexion.
Step 7: Style and finish
Style with heat tools if the lace hair is heat-friendly. Seal your style with a light hairspray and check for spots that may need extra adhesive or blending.
Maintenance and removal tips
Prolong the life of your install by following aftercare best practices: sleep with a satin bonnet, avoid heavy oils on the hairline, and remove the wig gently using a solvent-based remover if you used strong adhesives. Always dissolve adhesive residue with remover before pulling the lace to prevent damage.
Troubleshooting common issues
- Lift at the temples: reapply a thin bead of adhesive and press down for a secure seal.
- Visible lace tint mismatch: use a color-correcting concealer or a tint spray to balance tones.
- Itchy scalp: check for allergic reactions and switch to a hypoallergenic adhesive or use a scalp barrier.
- Short lifespan of hold: ensure the skin was cleaned properly with alcohol and that oils weren't introduced before adhesive application.
Pro tips from professionals
Small actions can make a big difference: pluck conservatively and in stages, use a silk or satin wrap at night to preserve edges, and avoid heavy conditioners near the perimeter. If you're new to adhesives, practice on a mannequin head first. For a natural part blend, use baby powder or a pressed mineral powder along the part line.
Advanced techniques
If you want longer-lasting installs consider knot tinting, ventilating additional hairs into the lace, or sewing in an inner waistband for tension-free wear. For delicate scalps, glueless methods using combs and adjustable bands can offer security without strong adhesives.
Complete shopping checklist
Before you sit down to install, make sure you have the following items within reach to avoid interruptions: wig stand, wig cap, braiding tools, adhesives (tape + liquid), alcohol wipes, scalp protector, adhesive remover, scissors, tweezers, combs, blow dryer, edge brush, and setting products. Having everything organized speeds up the process and improves results.
How often should you reinstall?
Lifetime of an install depends on adhesive type: lace tape may last 1-2 weeks, liquid adhesives can last several weeks with proper care. Regularly inspect the perimeter and refresh adhesive as needed rather than allowing full lift to occur.
Safety and allergy considerations
Patch-test adhesives 48 hours before full application, especially if you have sensitive skin. Keep adhesive removers on hand and avoid mixing products that the manufacturer warns against. If irritation persists, discontinue use and consult a dermatologist.
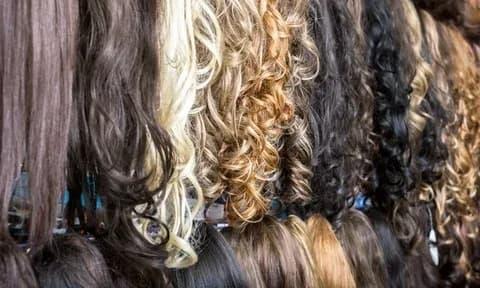
Customizing for different lace types
For transparent lace, minimal tinting is required; for darker lace colors, use lace tint sprays or a thin layer of foundation. HD lace is ultra-fine and requires a lighter hand when trimming. Swiss lace is stronger and forgiving for beginners.
Quick reference: short checklist you can print
If you need a fast printable list of essentials: cap, braid supplies, wig stand, scissors, tweezers, combs, adhesive (glue & tape), alcohol, scalp protector, remover, edge control, blow dryer, setting powder. Keep these in a travel kit for touch-ups on the go.
Why following a checklist helps
Using a checklist reduces stress, avoids interruptions, and ensures you don't forget critical safety items like remover or scalp protector. Treat the install as a mini-salon session: set aside 1–3 hours depending on your experience and complexity of styling.
Key phrases to remember for search and planning
When you search for tutorials or products, use targeted queries like "best adhesives for lace wig installs", "how to pluck lace wig hairline" or what do i need for a lace wig install to find relevant product reviews and step-by-step videos tailored for your cap type.
Cost considerations
Quality adhesives and lace treatments are investments. Expect to spend on initial supplies and periodic replacement of adhesives and tape. High-quality lace wigs and tools will save money in the long run by reducing replacement frequency.
Final checklist summary
- Clean, plucked, and tinted lace: check.
- All tools on hand (scissors, tweezers, combs): check.
- Adhesive choice determined (tape vs liquid vs glueless): check.
- Skin prep completed with alcohol & barrier: check.
- Styling plan & finishing products ready: check.
With these steps and supplies you can confidently approach your next DIY install. If you're wondering again what do i need for a lace wig install, return to this comprehensive list to avoid surprises and protect your investment.
FAQ
Q: How long should I wait between adhesive application and laying the lace?
A: For liquid adhesives the best practice is to apply thin layers and wait until the adhesive becomes tacky (usually 30–60 seconds depending on product) before pressing the lace down. Follow product instructions for optimal timing.
Q: Can I sleep in a glued lace wig?
A: Yes, if installed correctly and secured with a silk wrap or bonnet. However, avoid heavy oils and excessive tension to prevent premature lift or hairline stress.
Q: Are there hypoallergenic adhesive options?
A: Yes, look for medical-grade or hypoallergenic formulations. Always patch test first because individual sensitivities vary.
Whether you choose a tape-in, glue-down, or glueless method, preparation, the right supplies, and patient technique are what separate a good install from a flawless, natural-looking finish. Keep this guide handy to ensure each step is completed with care and confidence, and you'll quickly answer the question of what do i need for a lace wig install with clarity and precision.
Related products
Blog
- how do you make a lace wig explained with an easy step by step DIY tutorial and pro tips
- Do black women wear wigs Exploring why many choose wigs for style convenience and cultural expression
- Surprising Tips on how to put on wig cap with long hair and Keep It Comfortable All Day
- Easy step-by-step tips on how to put a wig on over long hair for a secure natural look
- is kreekcraft wearing a wig Latest investigation and fan reactions reveal the truth about his hair
- Uncovering the truth did lyle actually have a wig Examining photos timelines and testimonies
- does wearing wigs cause hair loss Exploring the Truth with Expert Tips to Prevent Damage
- Best Remy Human Hair Wigs 2025 Buying Guide with Top Styles Care Tips and Where to Buy