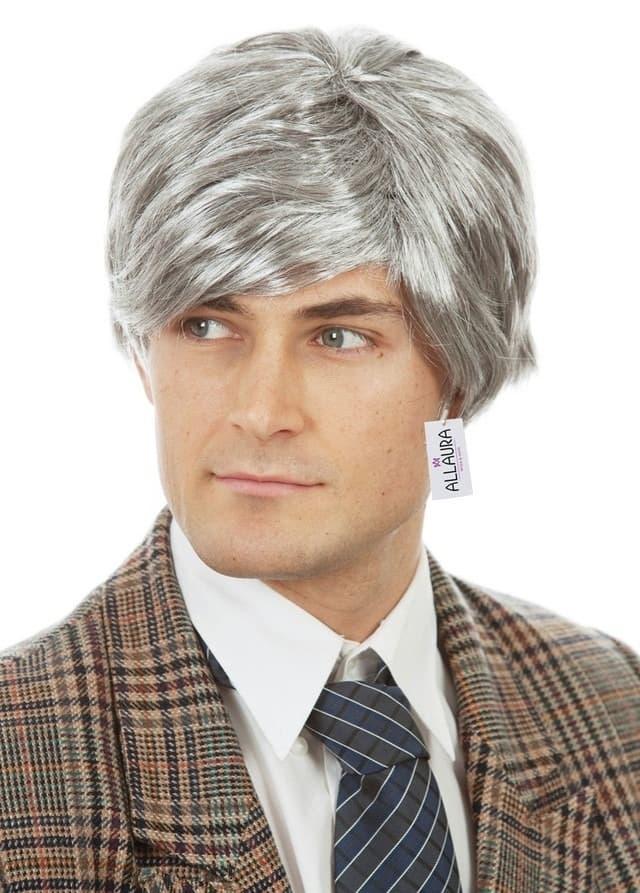
how to make your wig look natural: a practical, step-by-step home guide
If you're searching for actionable, realistic advice on how to make your wig look natural, this detailed guide walks you through professional techniques you can do at home. The goal is to transform a manufactured hairpiece into a believable, flattering style that blends with your features and mimics a lived-in hairline. In this long-form resource you will find clear explanations, step-by-step procedures, recommended tools, product suggestions, and troubleshooting tips so you can achieve natural results without pricey salon visits.
Why focusing on a natural look matters
Many wig wearers report that even a high-quality unit looks artificial because of one or two small factors: a too-perfect hairline, uniform thickness along the edges, an obvious parting, or a cap that doesn't sit flush. Learning how to make your wig look natural addresses these micro-details: customizing the hairline, creating depth at the part, relaxing uniform density, and ensuring the cap sits with realistic tension. Small, intentional adjustments change perception and increase confidence.
Before you start: tools and materials checklist
- Wig stand or mannequin head — stabilizes the unit for accurate customization.
- Fine-tooth comb and wide-tooth comb — for detangling and styling.
- T-pins — to secure the wig on the block.
- Razor or thinning shears — soften bulk and create tapered ends.
- Tweezers — for careful plucking along the hairline and part.
- Vent brush — ideal for smoothing lace areas without snagging.
- Blow dryer with a nozzle and low-heat setting — to set baby hairs and adhesives.
- Alcohol wipes or scalp cleanser — to prepare the skin.
- Adhesive or tape if you plan to secure the wig; choose a product suited to your skin.
- Heat protectant for styling heat-friendly fibers or human hair wigs.
- Foundation, concealer, or wig-specific tint to match lace or fill the part.
Overview of the process
Understanding the big picture streamlines the 11 practical steps below. Think in terms of three stages: preparation, customization, and finishing. Preparation involves washing or prepping the wig and your scalp, and gathering tools. Customization includes altering the hairline, plucking, bleaching knots if needed, and texturizing. Finishing covers part color matching, securing, styling, and maintenance techniques that preserve the natural look. We'll expand each step with tips and cautions so you can follow along safely.
11 easy at-home steps to a realistic hairline and overall look
1. Fit the wig properly
Before changing hair or lace, ensure the cap size and placement are correct. A wig that is too big or too small sits awkwardly and makes even a perfect hairline look fake. Use adjustable straps or wig clips to stabilize the cap. Position the front edge slightly back from your natural hairline if you want to create baby hairs and avoid an overly pulled-forward appearance. Proper fit is foundational to how to make your wig look natural.
2. Secure the unit on a wig block
Place the wig on a wig stand or mannequin head and secure it with pins. Working off the head allows precise plucking and cutting. If you plan to use adhesives when wearing the wig, practice the fit and placement now to know where to add glue later.
3. Trim the lace carefully
Cut the lace following the curve of the hairline, leaving a small amount of lace (about 1/8" to 1/4") beyond the base. Avoid trimming too closely in one go. Cut slowly and follow the natural curvature, varying the depth slightly to avoid a mechanical outline. When learning how to make your wig look natural, controlling the lace margin helps the lace melt into the skin.
4. Thin and pluck the hairline
Use tweezers to pluck individual hairs along the front. Pluck sparingly and alternate areas to mimic natural hair spacing. Create slight density variations; hairlines are rarely uniformly dense. Aim for a soft graduation from sparse at the edge to fuller inside. If you over-pluck, wait a few days or add baby hairs with a razor — patience preserves realism.
5. Create baby hairs and soften edges
Using a small razor or micro-scissors, delicately trim short hairs near the front to frame your face. The baby hairs should feel effortless, not contrived. Style them with a little gel or mousse and set with low heat. Baby hairs break the perfect edge and signal a natural transition from skin to hair, a major factor in how to make your wig look natural.
6. Bleach knots (only if necessary)
For lace wigs with dark knots that read as dots, bleaching knots can make hair appear to grow directly from the scalp. Use a gentle bleach course and follow manufacturer instructions. Test on a small inconspicuous area first, as bleach can weaken strands. If you are uncomfortable with this chemical step, use concealer or foundation on the lace to soften the contrast instead.
7. Tint or shade the part
The part is where depth makes the biggest difference. Apply a small amount of foundation or brow powder that matches your scalp to the part line; for sheer lace, melt the tint into the mesh. For a multidimensional part, add a slightly darker shade beneath for shadow and a lighter touch near the edges for balanced realism. The correct shading answers the visual question of "is there scalp under this hair?" and is central to how to make your wig look natural.
8. Texturize and thin the bulk
Use thinning shears or a razor to remove excess density, especially in the perimeter and underneath layers. Natural hair has variable thickness: denser near the crown and thinner at the ends. Create movement with soft layers and face-framing pieces. Over-texturing can make a wig look artificial and sparse, so proceed gradually and step back frequently to judge balance.
9. Style with heat or rollers (as appropriate)
If your unit is heat safe, use a flat iron or curling iron to define a lived-in waveform or soft bend. For synthetic wigs that cannot tolerate heat, use foam rollers or steam styling to achieve texture. Avoid extreme, uniform curls that scream "wig." Instead, mix waves and straight strands to emulate natural behavior. Finish with a light hairspray to hold the look without making it crunchy.
10. Secure the lace for a seamless look
When wearing the wig, prepare your skin: cleanse and apply a barrier if using adhesives. Use thin, medical-grade tape or low-profile glue applied to the hairline to blend the lace into your skin. Press gently and use a blow dryer on cool to set. If you prefer an undetectable method, wig glue spray plus a little concealer under the lace can do wonders. The way the lace adheres to the skin is a final determinant in how to make your wig look natural.
11. Final color correction and blending
Use a dry shampoo or root powder to add variation to the roots if the wig is uniformly colored. For lace coloring, tweak with brow powders to harmonize with your skin tone. If your own hair is visible at the edges, blend using a little styling product and a fine-tooth comb. Step back and check in natural light to confirm the tone and texture read as intended.
Advanced refinements and pro tips
While the eleven steps above create a very convincing result, professional stylists add refinements that elevate realism: micro-trimming small wisps around the ears, slightly asymmetrical part lines, color-matching the lace to the nape for under-layer continuity, and strategically backcombing or smoothing to imitate density changes. Below are more nuanced tactics to consider once you're comfortable with basic customization.
Plucking with purpose
Pluck in small sessions, taking photos to track progress. The aim is a non-uniform gradient: patchy, yet believable. Some stylists advise plucking parallel to the hair growth direction to avoid creating blunt gaps. If you make a mistake, create baby hairs to mask over-plucked areas or use a bit of eyebrow powder mixed with setting spray to camouflage sparse spots at the hairline.
Making part lines believable
A believable part line requires depth and shadow. Use a mixture of powder and saline-based products to tint the lace and create a scalp-like sheen. For laceless units, strategically thin hair under the part to reveal the foam cap and then add shading to simulate a scalp. Remember, a flat, perfectly straight part looks unnatural—introduce a subtle S-curve or slightly staggered hair placements to mimic human hair movement.
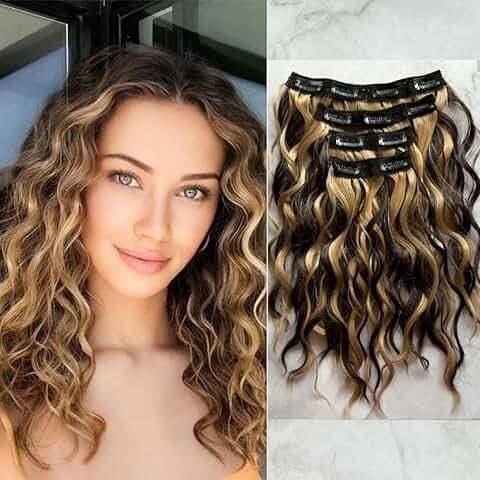
Texture matching and fiber choice
Choosing the right fiber type—synthetic, heat-friendly synthetic, or human hair—affects how you approach styling and long-term maintenance. Human hair allows the most realistic finish and can be treated like natural hair with dye and heat. High-end heat-friendly fibers can also accept textured styling but might require special products to maintain softness. The more the fiber behaves like your natural hair (in terms of shine, weight, and movement), the easier it becomes to reach the objective of how to make your wig look natural.
Common mistakes and how to avoid them
- Over-plucking — creates visible holes; pause frequently and compare both sides for symmetry.
- Cutting lace too close — may lift and reveal machine-sewn tracks; maintain a small margin.
- Using heavy products — weigh down the hair and create shine that doesn't mimic scalp oils; prefer matte or lightweight formulations.
- Ignoring cap fit — an ill-fitting cap negates almost all customization; use adjustable straps, clips, or sew-in wefts as needed.
- Relying on only one method — the most realistic look usually combines plucking, tinting, and texturizing rather than a single fix.
Maintenance routines that preserve realism
To keep your wig looking naturally lived-in, follow a maintenance cycle: wash gently every 10–15 wears (or sooner if you use heavy products), condition and detangle with care, store on a stand to maintain shape, and reapply adhesives only when necessary to protect lace longevity. Use product sparingly and refresh the part with powder rather than heavy creams. Proper storage and gentle handling maintain the surface texture that convinces observers the hair is naturally grown.
Styling ideas that enhance a natural appearance
Choose styles that mimic how your real hair would behave. Loose waves, soft layers, side parts, and middle parts with slight offsets all read as natural. Avoid super-polished, identical curls from root to tip; instead, blend techniques like gentle heat waves with finger-styled separations. Tuck and pin occasionally to vary silhouette—natural hair isn't static, so a wig that moves and changes shape will appear more believable.
How to make your wig look natural for different face shapes
Customization should respect facial proportions. For round faces, long face-framing layers and a deep side part create elongation. Angular faces benefit from softer waves and wispy bangs to soften lines. Oval faces can generally handle most shapes but subtle layering around the chin adds depth. When tailoring your wig, small adjustments in part placement and fringe length significantly impact the perceived authenticity of the overall look.
Budget-friendly hacks
If you want to improve realism without expensive tools, try these low-cost strategies: use baby powder to reduce shine, apply eyeshadow or brow powder to the lace for tint, repurpose an old toothbrush for subtle backcombing and texture, and practice plucking with a steady hand in small increments. You can often achieve a natural look through technique rather than high-cost materials—consistency and careful observation are the main investments.
Troubleshooting common problems
If the wig looks too flat at the roots, introduce lift with a root-lift spray or gently backcomb at the base and smooth the top layer. If lace shows a color mismatch, use a thin layer of foundation or a purpose-made lace tint. If edges lift during wear, check for oils on your skin and apply a clean scalp prep; if necessary, switch adhesive brands to one compatible with your skin chemistry. Persistence and testing small solutions will get you closer to how to make your wig look natural.
Ethical and safety reminders
Avoid harsh chemical processes on low-quality fibers and always perform a patch test for adhesives. If you bleach knots, follow safety protocols: ventilate the area, limit exposure times, and neutralize thoroughly. For scalp-sensitive individuals, consider tape-based methods or headbands rather than direct-skin adhesives. Respect the limits of your wig's construction to prevent irreversible damage.
Before you finish: a quick checklist
- Does the cap fit snugly and sit in the right place?
- Is the lace trimmed but with a small margin to ensure adhesion?
- Have you created soft, non-uniform baby hairs and plucked sparingly?
- Is the part shaded to match your scalp tone?
- Has bulk been thinned to allow movement and prevent a helmet-like silhouette?
Final words: practice, patience, and photographic feedback
Learning how to make your wig look natural takes time. The most reliable feedback comes from photographs taken in natural light—use images as your guide to spot symmetry issues, sheen, and part realism. Over time you will develop a routine that fits your style and maintenance habits. With care, even a budget wig can present as a convincing, natural-looking hairstyle.
Quick recap: the essentials of achieving a believable look
To summarize, focus on cap fit, lace trimming, subtle plucking, baby hairs, part shading, texturizing, and correct adhesives. Each element contributes to the overall illusion that hair is emerging naturally from the scalp. Whether your goal is a daily, low-maintenance look or a cinematic, high-definition appearance, these methods form a reliable foundation for understanding how to make your wig look natural.
FAQ
Q: How quickly can I expect to see a natural result?
A: Results vary by skill and wig quality. In one sitting you can dramatically improve authenticity through plucking, tinting, and styling. Mastery takes practice across several sessions.
Q: Can I achieve a realistic hairline without damaging the wig?
A: Yes—use conservative plucking, avoid over-bleaching, and employ temporary tints when possible. Working slowly minimizes risk.
Q: Is glue necessary for a natural look?
A: Not always. Clips, combs, and adjustable straps can secure a wig convincingly. However, a thin, well-applied adhesive often produces the most seamless perimeter.
Q: How often should I re-tint the part or re-pluck?
A: Tint touch-ups depend on wear and product transfer; re-pluck only if density shifts with wear. Most wigs need minor maintenance every few weeks to several months based on frequency of use.