How to Install, Blend and Style a frontal wig for a Seamless Natural Hairline and All Day Hold

Expert Guide to Installing, Blending and Styling a Frontal
This comprehensive guide walks you through professional methods to install, blend and style a frontal wig so the hairline looks undetectable and the style lasts all day. Whether you're new to wigs or refining advanced techniques, the step-by-step strategies below cover preparation, adhesion, blending, cutting, heat styling, maintenance and troubleshooting. The goal is to create a seamless, natural look while protecting your scalp and maximizing wear time.
Understanding the Basics of a Frontal and Why It Matters
First, understand what you're working with: a lace frontal is a flexible lace panel that spans ear-to-ear to recreate a realistic hairline. When you choose a frontal wig, you're investing in versatility—partings, baby hairs, and a lifelike edge are all possible. Knowing the lace type (HD, Swiss, French), knotting (single vs double), and hair quality (synthetic, human, virgin, Remy) will inform your prep, adhesive choice, and heat settings. Lace color and tinting also affect how natural the hairline appears; a well-matched lace makes blending significantly easier.
Essential Tools and Products
- Quality wig stand or mannequin head for secure styling.
- Edge control, gel and a small toothbrush or edge brush for shaping baby hairs.
- Medical-grade adhesive or tape designed for lace applications; consider water-resistant formulas for all-day hold.
- Adhesive remover, isopropyl alcohol (70% or less) and gentle clarifying shampoo for prep and removal.
- Scissors (thinning and shears), razor for wispy baby hair, and small trimming shears for precision.
- Blow dryer with a cool/low heat setting, heat protectant spray, and flat iron or curling tools rated for the hair type.
- Wig glue brush, highlighting tweezers for plucking, elastic band or scarf for holding the lace down as glue sets.
- Scalp protector or barrier spray for sensitive skin; wig tape for short-term wear or if you prefer glue-less methods.
Preparing Your Natural Hair and Scalp
Start with a clean, oil-free scalp—wash and exfoliate 24–48 hours before installation. Residual oils can reduce adhesive performance. If leaving out a small amount of hair for a natural blend, flat iron or braid the leave-out in thin, neat cornrows so the lace lies flat. For a full sew-in with no leave-out, braid the hair into a low-profile pattern. Always protect edges with a barrier product if you are using strong solvents or long-wear adhesives to prevent irritation and preserve hairline health.
Prepping the Lace and Wig
- Try on the wig, position the lace, and trim excess lace carefully—cut a thin border following the natural hairline rather than cutting straight across. Use small, sharp scissors and cut in a curved motion for realism.
- Pluck the hairline before installation: take tiny sections and remove strategically spaced hairs to create irregularity. Over-plucking can look thin and fake—aim for subtlety.
- If necessary, bleach knots or use a concealer/skin tone spray on the underside of the lace to reduce visibility of knots. Test on a small area first to avoid damage.
- Customize baby hairs by trimming micro-length hairs at the front and using a toothbrush with light gel for styling.
Adhesive Application Methods for Long-Lasting Hold
There are several secure methods to attach a frontal wig, each with pros and cons. Choose the method based on skin sensitivity, desired wear time, and activity level.
Glue (Liquid Adhesive)
Apply a thin layer of adhesive around the perimeter where the lace will sit. For most adhesives, apply two layers, allowing the first to dry tacky before applying the second. To ensure a strong bond, wait until the adhesive is completely tacky (press test with a q-tip). Carefully lay the lace down, starting at the center of the forehead and working outward. Use a blow dryer on cool to speed curing and press the lace with a silk or cotton scarf for at least 10–15 minutes to set. Be cautious with strong solvents when removing.
Tape
Tape is ideal for short- to medium-term wear. Cut small strips and place them along the hairline, pressing firmly. Tape is less messy than glue and easier to remove with oil-based removers, but it may require more frequent replacement.
Sew-In / Elastic Band Method
If you prefer no adhesive, the elastic band method or sew-in offers security. Sew the frontal down along the perimeter or use an elastic band attached to both sides for a snug fit. This approach is gentle on the skin and great for active lifestyles.
Creating a Flawless Edge and Blending
Edges are where most installations either succeed or give away the wig. Use light, feathered strokes when shaping baby hairs and edge-control products that dry flexible—not crispy. Use a concealer or powder that matches your skin tone along the hairline underneath the lace for depth. To blend a frontal wig with leave-out, apply a small amount of heat protectant and lightly flat iron the natural hair to align with the frontal hair texture. If blending with cornrows, gel and brush the braided edge to lie flat under the lace.
Cutting and Styling for a Natural Silhouette
After securing the lace, style directly on the head for accurate shape. Consider face shape when cutting—layers, curtain bangs, or a soft V-cut at the front create depth. When trimming, take small amounts at a time; less is more. For textured finishes, use a razor to add wispy layers and movement. Heat tools work for human hair frontals; keep the temperature moderate (300–360°F) and always apply a heat protectant.
Achieving Long-Lasting Hold and Weather Resistance
To keep a frontal wig looking fresh over long days and through varied conditions, follow these best practices: use water-resistant adhesives for humid or rainy conditions; seal the perimeter with a flexible sealant after laying the lace; avoid heavy oils near the adhesive line which can break down the bond; sleep with a satin bonnet or scarf and, for extra security, re-tie the scarf overnight to maintain adhesion and baby hair shape.
Daily Touch-Ups and Lightweight Setters
Carry a small travel kit: mini edge brush, a tube of edge gel, a few adhesive wipes, and a small alcohol-free cleanser. For quick midday fixes, re-press edges with a flat iron on low heat or use a small band to re-secure loose corners. Use a lightweight hairspray to lock styles without creating visible residue on the lace.
Maintenance and Cleaning of Frontal Units
Wash frontals every 1–3 weeks depending on product buildup and styling frequency. Remove adhesive residues gently with an adhesive remover and a soft, damp cloth. Use sulfate-free shampoos and moisturizing conditioners to keep hair soft and manageable. For curly frontals, use a wide-tooth comb and detangling spray; for straight, use fingers or a brush designed for wigs. Store wigs on a stand to preserve shape and avoid sun exposure to prevent color fading.
Special Considerations for Sensitive Skin and Bi-Weekly Routines
If you have sensitive skin, choose hypoallergenic tapes and medical-grade, low-fume adhesives. Patch-test any adhesive on the inner arm 24–48 hours before full application. Use barrier sprays and avoid prolonged contact with strong solvents. For bi-weekly or weekly wearers, rotate between two frontals to reduce constant adhesive exposure to the same scalp area and give your skin time to breathe.
Troubleshooting Common Issues
- Visible lace or dark knots: apply a suitable lace tint or light concealer to match skin tone; bleach knots carefully only if necessary.
- Lifted corners: clean the lace edge and scalp, reapply thin adhesive layers, and press down with a band or scarf until set.
- Itchy scalp: check for product buildup, wash the scalp, and try a thin barrier spray. If persistent, discontinue use and consult a dermatologist.
- Short wear time: ensure scalp is oil-free, use two thin adhesive layers, and let adhesives fully cure before styling.
Advanced Pro Tips from Stylists
Stylists often recommend tinting the lace before application with an airbrush or blending foundation for a seamless base. Create micro-partings and knot-coverage with concealers matching scalp undertones. Use a light dusting of baby powder on the hairline to remove tackiness after adhesive cures for a natural matte finish. Consider custom-colored lace when standard tints don't match complex skin tones. For high-motion days, a thin clear layer of professional film or sealant can lock edges while remaining flexible.
Styling Inspiration and Versatility
A properly installed and blended a frontal wig can mimic natural hair in almost any style: sleek ponytails, deep side parts, middle parts, afro-textured styles, or high buns. For a pulled-back look, ensure the lace at the perimeter is securely glued and the leave-out or edges are blended seamlessly. For voluminous looks, use a round brush and blow dryer to add lift at the roots and finish with a page-setting foam for hold without crunch.
Longevity: When to Replace or Refresh a Frontal
With proper care, a human hair frontal can last many months to over a year. Replace when hair density noticeably thins, lace tears, or when knots degrade from repeated bleaching. Regular deep conditioning and reducing high-heat styling will extend life. Re-lace or have a stylist professionally re-tint and re-vent the frontal if naturalism diminishes over time.
Comparing Glue-Less Alternatives
If frequent adhesive use isn't ideal, consider clips sewn into the perimeter, headband wigs, or the elastic band method. These are gentler options for daily wear but may affect parting versatility or require strategic concealment for the hairline.
Summary Checklist: Step-by-Step Quick Reference
- Wash and prep scalp 24–48 hours prior.
- Style or braid natural hair to lie flat.
- Trim and tint lace if needed; pluck hairline subtly.
- Apply adhesive/tape in thin, tacky layers.
- Lay lace starting center-outward; press and secure with a scarf.
- Trim baby hairs and shape with edge control.
- Style with heat protectant as necessary and set with light hair spray.
- Sleep with a satin bonnet, and perform gentle nightly maintenance.
By following these steps you can ensure that a frontal wig appears natural, stays secure, and remains comfortable for all-day wear. Attention to detail during prep, correct adhesive technique, and careful blending are the pillars of a professional installation.
Final Safety and Removal Tips
For removal, never force the lace off. Soak the adhesive with an approved remover, applying with a cotton swab along the perimeter until the lace loosens. Remove slowly to minimize hair breakage. Clean the lace thoroughly with a gentle cleanser and store on a stand. If you used strong adhesives, take scalp rest days between installs to allow skin recovery.
Additional Resources for Continued Learning
Explore masterclasses, professional stylist forums, and product reviews to learn new adhesives, barrier sprays and styling tools. Practice on mannequin heads to build confidence with cutting, plucking and lace placement before working on yourself or clients.
FAQ
- Q: How long should I wait before getting my frontal wet after applying adhesive?
- A: Wait at least 24 hours for most adhesives to fully cure before heavy moisture exposure; water-resistant adhesives may allow shorter times, but check product instructions.
- Q: Can I wear a frontal if I have alopecia or very thin edges?
- A: Yes—use gentle adhesives, barrier sprays and consider a wig stylist who can customize lace and density to create a natural look without stressing remaining hair.
- Q: Is it better to bleach knots or tint the lace?
- A: Tinting lace is less damaging and more reversible; bleaching knots can give a closer look but risks transparency and knot shedding—proceed cautiously and test on spare lace first.
Closing Note: Mastery comes with practice; work slowly, keep a small repair kit handy, and prioritize scalp health as part of your routine for the best natural results with a frontal wig.
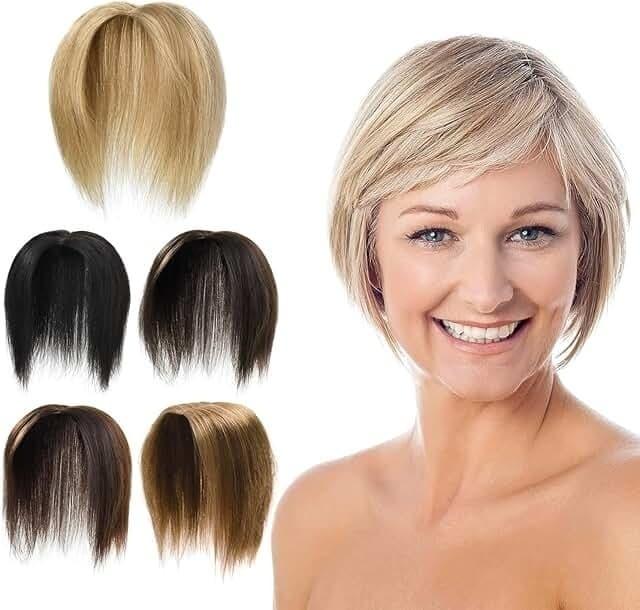
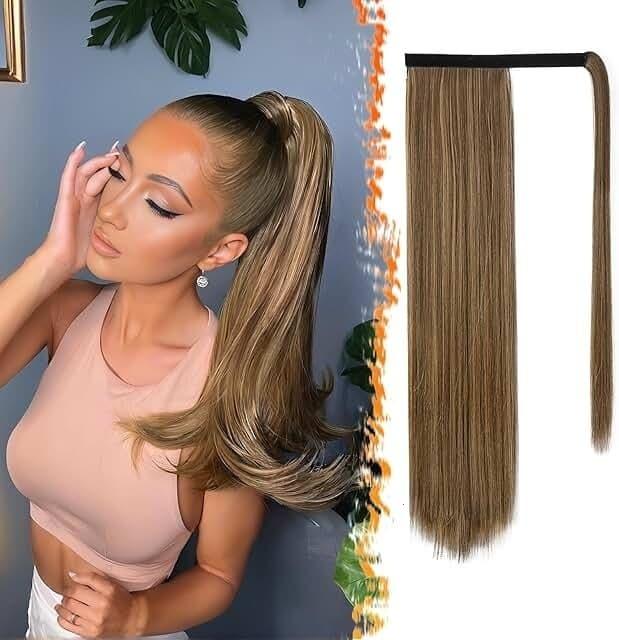
Related products
Blog
- Where to Order Wigs Online - Best Places, Styling Tips, Price Comparison and Fast Shipping
- why are human-hair wigs more expensive 9 Insider Reasons and How They're Actually Worth the Price
- does kt mcfarland wear a wig Fact Check With Photos Statements and Hairstyle Clues
- can you use straightener on synthetic wig? Expert heat tips, safe temperatures and styling alternatives
- Does Steve Stevens Wear a Wig - Fact Check with Photos, Interviews and Expert Hairstyle Analysis
- 2025 Guide on how much do wig install cost plus average prices and DIY vs pro breakdown
- Can You Sleep in a Human Hair Wig - Expert Overnight Tips to Protect Your Wig and Scalp
- Expert tips on what is the best lace front wig glue for long-lasting hold and sensitive skin