How to Flatten Hair for Wig with Heat-Free Methods and Salon-Level Styling Tips
Professional Guide to Flattening Hair for a Smooth Wig Base
Why flattening matters when preparing hair for a wig and how to flatten hair for wig applications
Whether you're building a custom lace unit, prepping a cap for a sew-in, or creating a sleek wig from your own hair, knowing how to flatten hair for wig use is a fundamental skill for achieving a natural, salon-quality finish. This long-form guide explains multiple heat-free techniques, product choices, and salon-level tips so you can create a flat, even base that looks invisible under lace or tracks without relying on damaging heat tools.
Overview: The goal of flattening and common scenarios
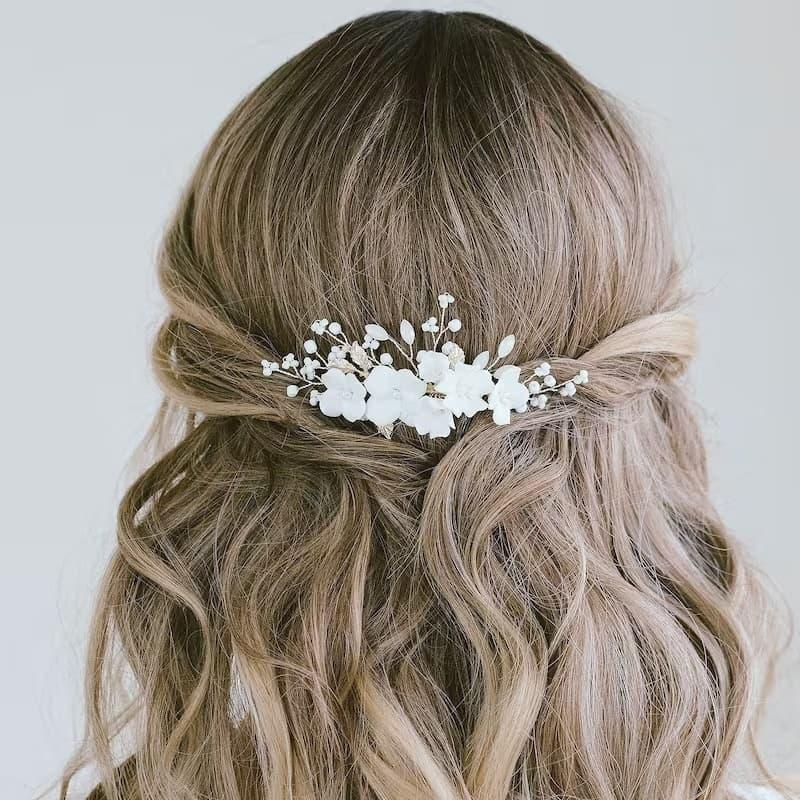
There are a few typical situations where you need to flatten hair: 1) Preparing natural hair to serve as a wig foundation (for lace front or full lace installations), 2) Laying loose hair bundles flat on a cap before sewing or gluing, and 3) Smoothing human-hair or synthetic wigs for styling or storage. No matter the scenario, the goal is the same — achieve a low-profile, smooth surface with reduced bulk and minimized frizz so the wig lays flush against the scalp or cap, creating a realistic hairline and part.
Key principles before you begin
- Start with clean, detangled hair. Dirt and buildup create friction and prevent hair from lying flat.
- Use products that add slip and hold. Lightweight creams, setting lotions, and anti-frizz serums help smooth without stiffness.
- Stretching is the safest flattening method. Banding, braiding, and roller setting stretch the hair shaft without heat.
- Protect length and elasticity. Over-manipulation or harsh chemicals will weaken hair; be gentle and patient.
Step-by-step heat-free methods to flatten hair for wig foundations
1. Cleanse and condition
Begin with a gentle shampoo to remove oil, dirt, and product residue. Follow with a deep conditioner or a hydrating mask to restore moisture. When preparing hair that will be glued or ventilated into lace, a soft, lightweight conditioner will reduce tangles while avoiding heavy buildup. Rinse with cool water to help smooth cuticles.
2. Apply detangling and smoothing products
While hair is damp, use a leave-in conditioner or detangling spray. Then add a small amount of smoothing cream or a water-based setting lotion that provides hold but remains flexible. Focus on root to mid-shaft and take care to avoid greasy roots if the hair will be glued directly to the scalp or cap. The correct product choice depends on hair porosity and density; for low-porosity hair choose a lighter, water-based formula; for higher porosity use a richer cream sparingly.
3. Sectioning and systematic stretching
Divide hair into manageable sections — typically 6 to 12 based on density. Work methodically so each area receives equal treatment. If the intent is to flatten for a wig cap, ensure sections near the hairline and part are smallest for the most control.
4. Banding method (excellent for long hair)
Banding is one of the most effective heat-free flattening techniques. After applying a smoothing product, wrap each subsection with soft elastic bands spaced evenly down the length to maintain tension and stretch the hair while it dries. For best results, sleep with the bands or allow at least 6–12 hours to set. Once dry, remove bands and lightly brush or finger-smooth each section flat.
5. Large, flat braids or cornrows
For medium-length to long textures, flat braids or small cornrows lie close to the scalp and reduce bulk. Use a smoothing gel or edge-control along the scalp lines, braid tightly but not painfully, and pin ends flat against the head. This creates a low-profile base and is especially useful when you plan to sew tracks onto a cap or attach a wig base.
6. Rollerset and sponge-roller sets
Rollers, particularly large-diameter sponge rollers, provide a smooth wrapped surface that flattens without heat. Wrap damp, product-treated sections around the roller toward the scalp, ensuring tension and smoothness. Cover with a silk scarf and allow to dry fully. This method is gentle, reduces frizz, and creates a nearly flat finish suitable for wig caps.
7. The wrap technique with a silk scarf (classic salon method)
Also called "doobie wrap" or "pancaking," this method smooths hair close to the scalp. After banding or braiding, wrap hair around the head in the direction you want the wig parts to sit, using a scarf or silk wrap to hold tension. Maintain wrap pressure for several hours or overnight. This salon-level finishing step is favored for its natural-looking, low-lift results.
8. Using a wig cap and careful pinning
When prepping a wig cap with your own hair underneath, place a breathable wig cap and pin sections flat inside the cap. Use flat hairpins or stitching to secure each section without causing bumps. Adding a thin layer of anti-static spray on the cap and using a silk or satin cap liner can also reduce friction and slippage.
9. Steaming and humidifying (heat-free alternative)
Steam can relax curl and shrinkage without direct iron heat. Professionals sometimes use a garment steamer or handheld steamer from a distance to lightly set smoothing products into the shaft, then wrap with a silk scarf to lock in the flattened state as it cools. Always avoid over-steaming; short bursts at a safe distance are enough to help products penetrate and to reduce frizz.
10. Temporary glue/tape techniques for ultra-flat hairlines
For lace-front wigs, achieving a flat perimeter is crucial. Use a thin layer of medical adhesive or wig tape directly on the skin or cap and gently press the lace down. If you're flattening natural hair to glue a lace base, apply a light adhesive-compatible gel to the hair near the hairline to smooth flyaways and create a taut base for the lace. Test adhesives and be mindful of skin sensitivity.
Styling and finishing tips to keep everything smooth
- Edge control with light hold: Use a water-based edge gel to tame perimeter hairs; avoid heavy waxes that create lumps under lace.
- Silk/satin scarves and bonnets: Always wrap for at least 30 minutes after banding or setting to lock the hair flat.
- Use a wide-tooth comb or paddle brush: When finishing, choose tools that won't create tension bumps.
- Trim excess bulk: If the underlying hair is very thick, gently trim the length or thin the density where it will sit under the cap to avoid lumps in the wig.
- Storage matters: Store a flattened wig or flattened natural hair under a silk bonnet or on a flat wig stand to maintain the sleek base.

Special considerations for synthetic vs human hair wigs
Synthetic hair has memory and often retains styles better without products, but it can be less forgiving when flattening on a cap. Use wide rollers and gentle stretching techniques. Human hair offers more styling flexibility and can be supported by setting lotions and steam methods; avoid oil-based heavy products on synthetic fibers to prevent fallout and stickiness.
Pro tips salon stylists use when flattening hair for wig installations
- Micro-sectioning: Stylists often micro-section hair along the hairline and part to get ultra-precise flatness where lace will sit. Smaller sections equal more control.
- Layered compression: After braiding or banding, stylists will sometimes place additional flat clips (covered with fabric) to compress high-density areas for several hours.
- Setting with tension: Use clips and a gentle pressure technique to press the hairflat during drying phases (banding + wrap = tension + time).
- Adhesive-compatible smoothing: When a lace unit will be glued directly to the scalp, a thin layer of non-oily gel or aloe gel near the perimeter helps the adhesive bond and prevents lifting.
Common problems, troubleshooting, and how to avoid them
Bumps under the cap: Caused by large, uneven sections; resolve by re-sectioning and holding tension while securing. Frizz return: Happens if hair isn't fully dry or humidity is high; re-wrap with a silk scarf and use anti-humidity spray. Lace lifting: Ensure perimeter hairs are flattened and use appropriate adhesive steps — clean skin, primer, adhesive or tape, press lace while adhesive cures.
Product guide: what to use and what to avoid
Use water-based leave-ins, lightweight setting lotions, mousse with flexible hold, and anti-frizz serums that are silicone-light. Avoid heavy petroleum-based pomades and thick oils near the hairline, as they can repel adhesives and cause slippage. For a finishing shine that stays flat, choose a sprayable serum designed to smooth cuticles without adding weight.
DIY day-by-day timeline for a heat-free flattening routine
Day 1: Wash, condition, detangle; apply leave-in and smoothing lotion; section and band or braid; wrap with silk and sleep. Day 2: Remove bands, rewrap for travel or sew onto cap; pin edges as needed; apply adhesive at install time if required. Maintenance: Re-tie or re-wrap nightly to keep hairs as flat as possible under the wig or cap.
Advanced salon-level strategies for perfect results
Consider partial flattening for blended looks: sometimes only the perimeter and part need ultra-flat flattening while bulk can be left for fullness. Professionals may pre-sew tracks onto a skull cap that’s been stretched flat on a mannequin head to ensure the wig laying is truly flush. When working with clients who have very textured hair, stylists often use a combination of banding and controlled steaming to achieve a consistent base while preserving curl integrity elsewhere.
How to maintain the flattened effect after installation
- Always sleep with a silk bonnet and avoid heavy friction.
- Use a lightweight holding spray or setting lotion that’s compatible with both hair and lace adhesives.
- Refresh flatness with a quick wrap or re-braiding session rather than reapplying heavy products.
Environmental factors and long-term care
Humidity and rain are natural enemies of flatness. Carry a small silk scarf or a compact anti-humidity spray to minimize frizz when you’re out. Long-term, rotate between heat-free flattening methods and low-stress treatments to prevent damage accumulation.
When heat might be considered and safe alternatives
Although this guide prioritizes heat-free methods, some stylists resort to a low-temperature, professional flat-press for final refining. If you ever choose to use heat, do so sparingly, with a high-quality heat protectant and professional equipment. However, the banding, wrapping, and steaming techniques outlined here are effective enough to achieve salon-level flatness in most cases without thermal tools.
Checklist: Tools and supplies to have on hand
- Wide-tooth combs, paddle brush, and detangling brush
- Satin/silk scarves and bonnet
- Soft elastic bands and hair pins
- Large sponge rollers and roller clips
- Water-based leave-in, setting lotion, and light edge gel
- Breathable wig caps and thin cap liners
- Handheld steamer or steam station (optional)
Final thoughts: master the craft of flattening for better wigs
Learning how to flatten hair for wig projects without heat is an investment in hair health and realism. With patience, proper products, and the right techniques — banding, braiding, wrapping, steaming, and careful securing — you can achieve a flat, natural-looking base that allows lace and tracks to look seamless. Whether you're a novice wig maker or a salon professional, adopting these strategies will raise the quality of any wig installation and prolong the life of both the base hair and the finished piece.
FAQ
Q: How long does banding take to set effectively?
A: For best results, leave banding in overnight (6–12 hours). Shorter times can help, but full dry time ensures the hair remains stretched and flat.
Q: Can I flatten very short hair for a wig cap?
A: Short hair is more challenging to flatten but not impossible. Use small, tight cornrows or a thin cap liner with adhesive-friendly gel around the perimeter.
Q: Will my hair texture change after repeated banding or braiding?
A: These techniques are low-damage when done correctly, but excessive tension or repeated harsh manipulation can cause breakage. Alternate methods and give hair restorative breaks.
Q: Is steaming safe for all hair types?
A: Light steaming is generally safe and can help relax cuticles, but avoid over-steaming porous or fragile hair; always follow with conditioning treatments.
Key phrase reminder: mastering how to flatten hair for wig projects will improve realism and comfort, and the techniques here provide a comprehensive, heat-free toolkit to achieve that flat, natural-looking foundation for any wig application.
Related products
Blog
- where did wigs come from Discover the surprising origins and evolution of wigs from ancient Egypt to modern fashion
- do you wanna taste it wig wam lyrics revealed with meaning analysis and singalong tips
- does kacey musgraves wear a wig debunked — the surprising truth about her hair and fan reactions
- Expert Tips to Choose Hair Wigs That Look Natural and Stay Comfortable All Day
- is sabrina wearing a wig? Photo inspection, stylist tips and quick ways to tell
- why do barristers wear wigs in uk - Exploring the history, reasons and modern controversy over courtroom attire
- does mariah carey wear wigs Uncovered Myths Debunked and the Hairstyles She Actually Uses
- how to make a closure for a wig DIY step by step guide for a natural looking finish