how to style a cosplay wig for beginners - step by step guide with pro tips and budget friendly hacks
Beginner-friendly wig crafting and styling: an approachable walkthrough
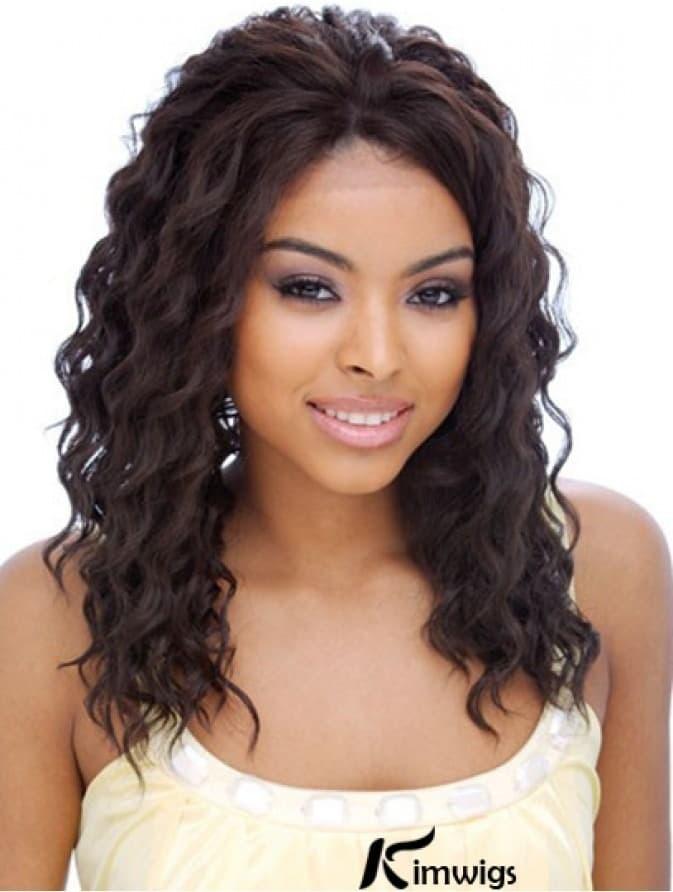
If you're new to wig work and want clear, practical advice on how to style a cosplay wig for beginners, this comprehensive walk-through collects step-by-step methods, professional tips, and budget-friendly hacks into a single accessible guide. Whether you're preparing a simple school-uniform character or a complex anime look, these strategies will demystify the basics and help you achieve a clean, character-accurate result without breaking the bank.
Why good styling matters and basic planning
Before touching scissors or heat tools, spend a few minutes planning your approach. Consider the character silhouette, accurate proportions, and how the wig will interact with costume pieces and headgear. Planning reduces rework and keeps your accessories intact. Visual references, such as front, side, and back images, help you map where layers, partings, and volume should sit. For anyone wondering how to style a cosplay wig for beginners, the planning phase is often the most impactful investment of time.
Materials and tools you'll need (budget and pro options)
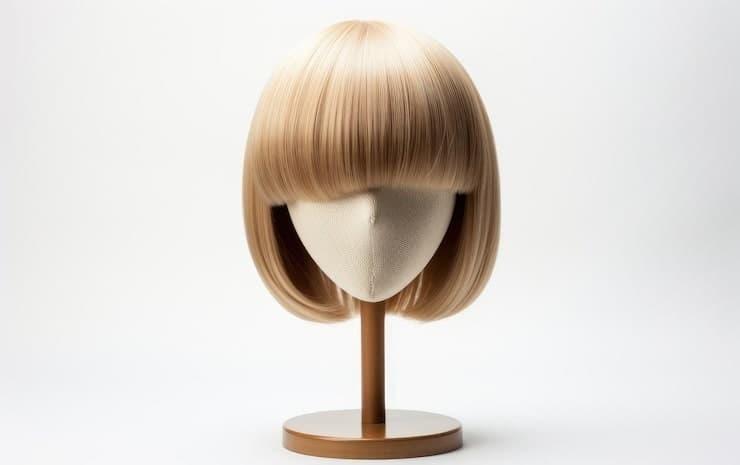
- Wig stand or mannequin head – foam heads are cheap; styrofoam heads are widely available at low cost. A cheap wig stand or cardboard headform also works for basic styling.
- Quality wig brush or wide-tooth comb – detangling without damage is key.
- Heat tools: only if the wig is heat-resistant. Low-cost mini flat irons and blow dryers with heat settings are effective; invest in a ceramic iron for longevity.
- Thinning scissors and sharp hair shears – thinning shears will help blend layers; cheaper shears can be fine for beginners but keep them sharp.
- Pins, clips, and elastic bands – to hold sections during cutting and styling.
- Styling products: wig-safe hairspray, fabric glue (for inside adjustments), wig wax or pomade (small amounts), and water in a spray bottle for synthetic fibers.
- Optional pro tools: hair dryer diffuser, heat-resistant rod sets, and a low-temp hot glue gun for structural fixes.
Choosing the right wig
Start with a wig that matches the base shape of the character. For beginners, choose a wig close to the final length and style to minimize cutting and reshaping. Prioritize density and cap fit: a wig that's too thin may not hold volume; too thick might be heavy and difficult to mold. When searching stores, look for the product description that explicitly states whether the fiber is heat-resistant, so you don't accidentally melt fibers while practicing heat styling. If you’re wondering how to style a cosplay wig for beginners, selecting the right base saves hours of rework.
Preparation: washing, detangling, and securing
Even new wigs benefit from a gentle wash to remove manufacturing oils and to let fibers behave more predictably. Use a wig shampoo or mild baby shampoo, rinse thoroughly, and let the wig drip-dry on a stand. Never rub fibers aggressively; instead, smooth with a wide-tooth comb while wet from tips to roots.
After the wig is dry, secure it on a head form using T-pins or clips so it won't shift while you work. If you are using a cheap foam head, wrap it in plastic wrap or use a hairnet to provide a better surface for pins. This is a simple cost-saving hack: plastic wrap protects the foam and gives pins more grip.
Sectioning and mapping the wig
Use numbered clips or small colored hair ties to mark zones: bangs/forehead area, crown/volume area, side locks, and nape/underside. This mapping prevents accidental removal of essential length or volume. Sectioning also simplifies complex hairstyles into smaller, manageable tasks — an essential mindset for beginners learning how to style a cosplay wig for beginners.
Step-by-step cutting and shaping (safe beginner approach)
- Trim the bangs first: Work dry. Take small snips and check symmetry often. If you're nervous, start with longer than desired and gradually shorten. Point-cutting creates softer, more natural edges than blunt cuts.
- Layering for volume: Use thinning shears to remove bulk. Take vertical slices from mid-length toward ends and use the scissors to lightly feather ends. For choppy anime styles, sharper angled cuts work well.
- Texturizing: After the major cuts, comb through and texturize with small vertical cuts into the ends. This prevents a blocky look on wigs with heavy fiber density.
- Shaping the back: For long styles, create a soft V or blunt end depending on character. For characters with a ponytail or updo, leave extra length to ensure the tie looks full.
Heat styling—what every beginner must know
Only apply heat to wigs labeled heat-resistant. Synthetic wigs that are not heat-safe will melt; always test a small concealed strand. Use a lower temperature setting and work slowly. For beginners a travel flat iron with adjustable temperature is a good budget option; a quick test on a sample strand will build confidence. To create waves or curls, use velcro rollers with a hairdryer on cool/low heat or use a low-temp curling iron on small sections. For sharp, anime-style spikes, apply a little wig glue or a specialized wig spray and shape while the fiber is warm; finish with a focused blast of cool air to set shapes.
Alternative no-heat tricks
Wet-setting with braids, buns, or rolls is an effective no-heat method: dampen small sections, braid or roll them, and allow to dry completely on the stand. This yields reliable waves and reduces the risk of damaging inexpensive fibers. Fabric strips or foam rods can give volume and curl with zero heat, making them perfect for beginners and cosplay conventions where quick fixes are needed.
Attachment, fitting, and securing on the head
A well-styled wig still needs secure attachment. Use wig grips, silicone wig bands, or bobby pins along the hairline. For full-cosplay accuracy, use a wig glue or tape if you plan on intense movement or wind. Practice applying and removing adhesive safely: follow product instructions and always perform a skin patch test. Securing your wig properly will keep your styling intact during long convention days.
Detailing and character accuracy
Small details sell a cosplay. Add baby hairs by trimming tiny short strands around the hairline and laying them with a small amount of water and gel. For split-color or highlighted looks, use colored hairspray or diluted fabric dye on the tips; patch-test on small hidden areas first. For characters with distinct hairlines, create a side part using a rat tail comb and set it with a touch of hairspray. Use pins or small stitches inside the cap to alter part location if necessary. These finishing touches are often what make a wig look costume-accurate rather than store-bought.
Spiking and gravity-defying styles
Spikes benefit from layering and internal support. Use lightweight foam, wire, or hot glue shapes inside the wig to hold complex geometry. Wrap fibers around the support and secure with glue or strong hairspray. If you use glue internally, avoid contact with the scalp by reinforcing only cap areas. For beginners, try building small test spikes first before committing to the whole wig.
Maintenance and long-term care
Store wigs on stands or in breathable bags to prevent tangles and dust accumulation. Clean only when needed; excessive washing shortens fiber life. For synthetic wigs, a light spritz of fabric softener diluted in water can keep fibers manageable. Human-hair wigs require standard haircare but still benefit from minimal heat and sulfate-free products. Routine combing before and after each wear keeps styling time low and helps maintain shape.
Budget hacks and time-saving shortcuts
- Buy inexpensive accessories like foam bits and fabric strips from craft stores for internal supports.
- Repurpose old clothing or wigs for practice. Cheap practice wigs are a low-cost way to test cuts and techniques.
- Use household items—bobby pins, hair ties, old toothbrushes—to tame flyaways and set baby hairs.
- Work in stages across multiple evenings rather than rushing in one session; this spreads cost and reduces mistakes.
Common mistakes beginners make and how to avoid them
Cutting too much at once is the most frequent error—always err on the side of caution and cut gradually. Using high heat on non-heat-safe fibers can ruin a wig instantly; check labels. Neglecting the cap fit leads to constant adjustments and ruined styles—prioritize a snug, comfortable fit and use wig grips when necessary. Lastly, skip products that leave residue; some cheap sprays can gum up fibers and make future styling difficult.
Quick troubleshooting guide
- Frizzy synthetic wig: apply a small amount of silicone-based shine serum or a diluted fabric softener spray, then gently smooth with a comb.
- Flat crown: create volume by teasing the underside with a brush, then lightly set with hairspray.
- Unruly bangs: wet lightly, trim conservatively, and set with gel or low-temp heat if fibers allow.
Step-by-step practice routine for beginners
Follow this simple practice routine to build confidence: 1) Secure wig on a stand, 2) map sections and mark partings, 3) trim small amounts from bangs, 4) thin heavy areas with thinning shears, 5) experiment with no-heat sets for curls or waves, 6) test spikes or structural shapes on a small area before full application, 7) attach wig to a head or wig grip and do a wear-test walk to check balance. Repeat until each step feels natural.
Resources to learn more
Look for tutorials that focus on synthetic fiber handling, wig cap alterations, and character-specific builds. Community forums and local maker groups often share detailed patterns and free templates for internal supports and wig stunts—great for learning how to style a cosplay wig for beginners in practical, real-world settings.
Final checklist before a convention or photoshoot
- Clean and detangle the wig the day before the event.
- Do a full wear-test to ensure fit and comfort.
- Pack a repair kit: pins, glue, small scissors, a travel hairspray, and a comb.
- Bring spare ties or small elastic bands for on-the-fly fixes.
With consistent practice and the right low-cost tools, you can move from cautious beginner to confident stylist. The core skills—planning, careful cutting, secure attachment, and smart product use—are the foundation for any successful cosplay wig. Remember that patience and testing are your allies; each wig teaches a new lesson.
Closing encouragement
Styling wigs can seem intimidating at first, but by following these steps and keeping an experimental mindset, you'll find your rhythm. Revisit the basics of planning and sectioning when you feel stuck. If you took away one point today, let it be this: slow, incremental changes and frequent testing will always beat one big risky cut. Now go try out a practice wig and build up from small, confident wins.
FAQ
A: Use wig-safe hairspray when possible. Many household hairsprays leave residue that can make synthetic fibers sticky; diluted fabric spray or product labeled for wigs is safer.
A: Check product descriptions for the term "heat-resistant" or "heat-friendly" and recommended temperature ranges. When in doubt, test on a hidden strand at low heat.
A: For synthetic wigs, cut dry for more predictable results. For human-hair wigs, traditional wet cutting methods work as they do on natural hair.
Related products
Blog
- why did men wear white wigs and what it reveals about fashion, power and hygiene across history
- did doris day wear a wig A closer look at photos interviews and the evidence behind her iconic hairstyles
- Wigs for White Women Top 20 Natural Looks and Expert Tips for Flawless Styling
- was bella wearing a wig in eclipse - What the Evidence Shows, On Set Photos and Expert Insight
- Top tips on where can i buy a wig cap and 10 trusted online and local retailers to check
- how do you make a wig look natural practical step-by-step tips from stylists to blend secure and style for lifelike results
- does karine jean pierre wear a wig explained A closer look at her hair comments and media rumors
- how to put on wig with long hair step-by-step guide for secure tangle-free styling